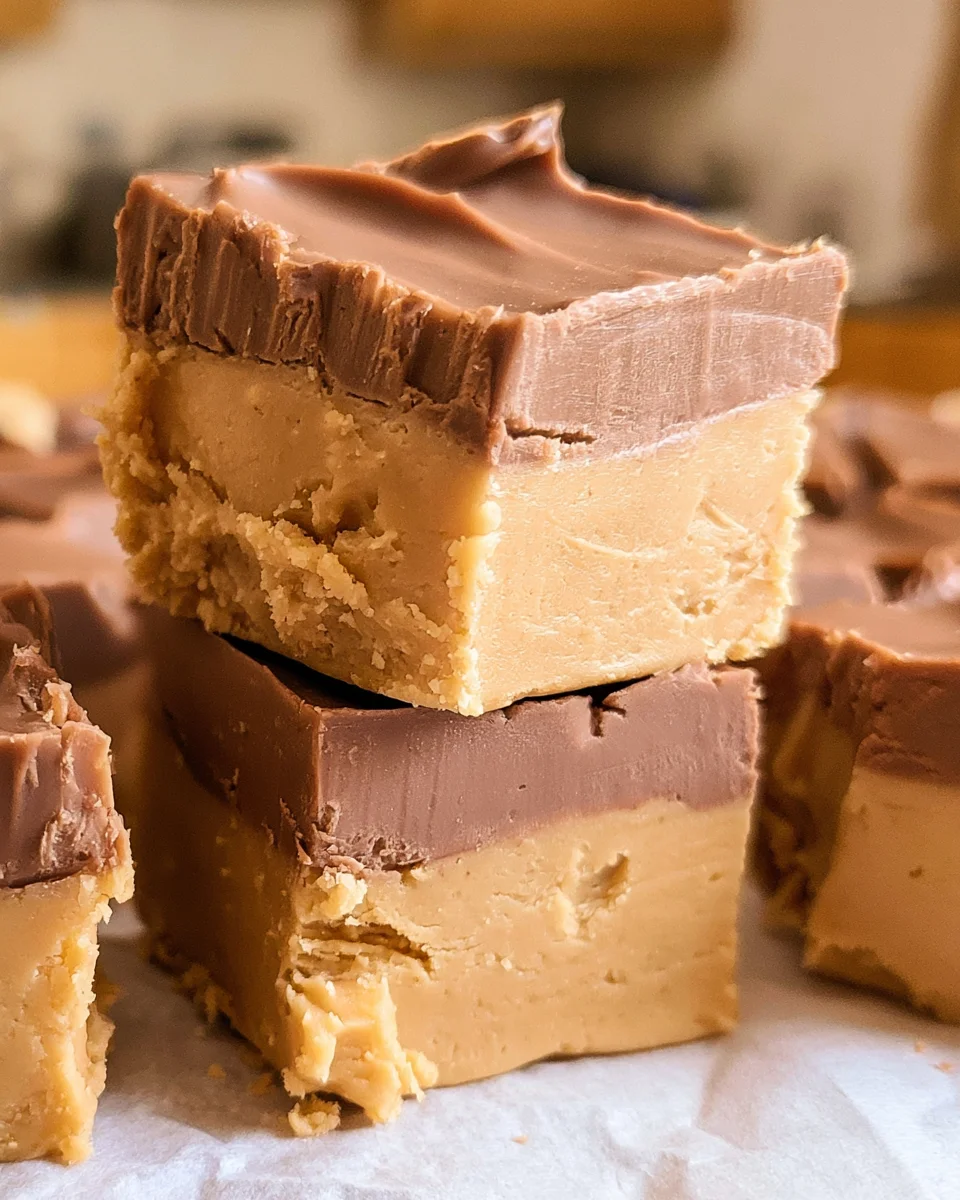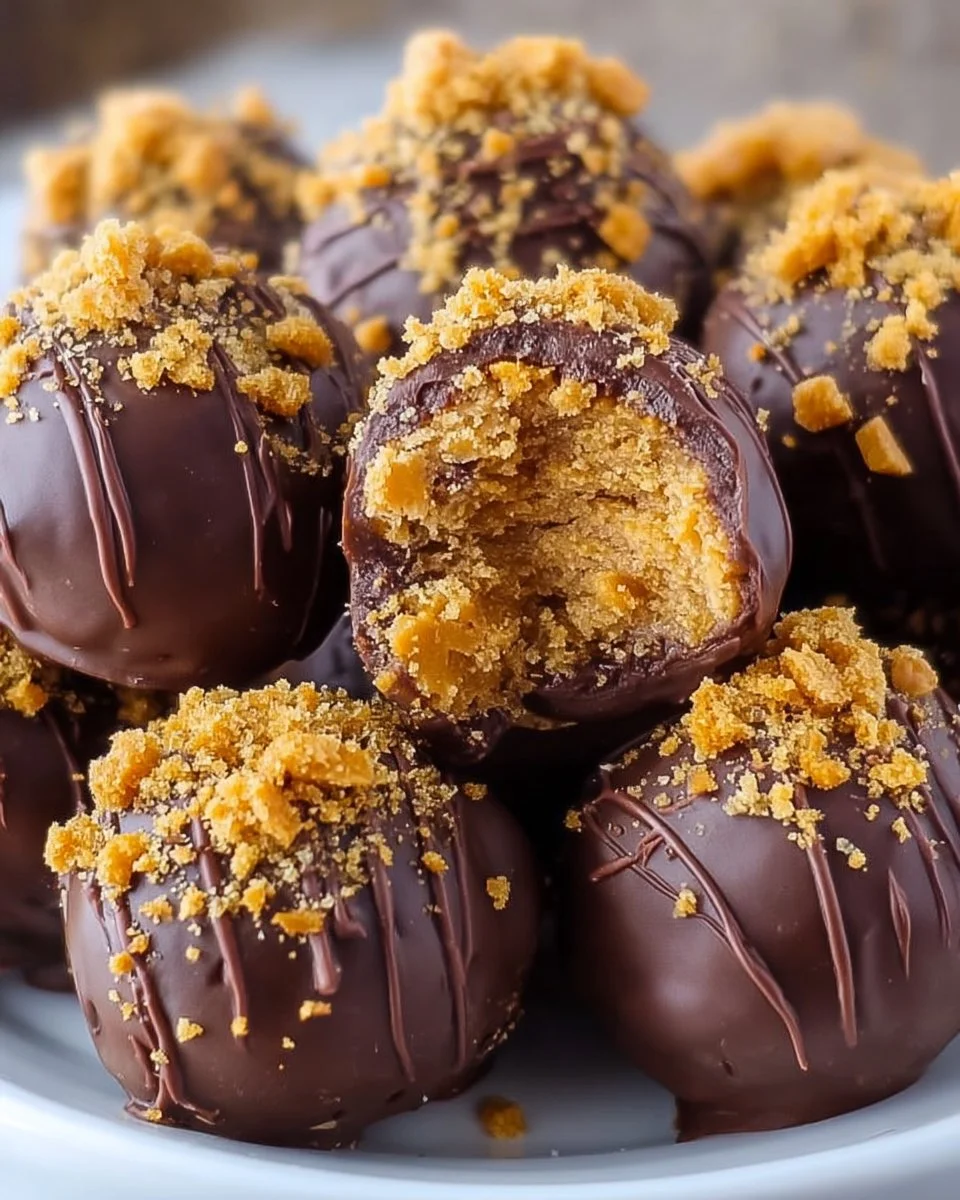
The first time you bite into a Butterfinger Ball, you find yourself sliding into a world of bliss where savory and sweet dance perfectly together. As your teeth sink into the smooth, creamy orb, the unmistakable crunch of crushed Butterfinger bars melds with the rich peanut butter, igniting a delightful symphony of flavors. Each ball is a treasure trove of crunchy bits enveloped in an enticing cloak of chocolate, creating a treat that’s not just a dessert, but an experience that warms the soul.
The aroma wafts through the air as you roll these heavenly bites between your fingers, each scent hinting at the delicious journey that awaits. It’s a call to nostalgia, reminding you of those carefree afternoons spent sneaking candy bars from the local store. With every bite, you experience an event—crispy, velvety, and sinfully sweet, all at once. Your senses take flight, leaving you craving more of these magical morsels.
Why You’ll Love This Butterfinger Balls Recipe
Butterfinger Balls bring joy to any occasion. Whether it’s a festive gathering, a sweet surprise for loved ones, or simply a cozy night in with a movie, these treats shine brightly on every table. Their unique combination of textures—the crunch from the candy, the creaminess from the peanut butter, and the rich coating of chocolate—creates an irresistible delight that few can resist.
Not only do these sweet bites satisfy your sweet tooth, but they’re also incredibly easy to make. Requiring just a handful of ingredients, they allow anyone, from novice cooks to seasoned bakers, to whip up a batch in no time. The simplicity of preparation becomes a bonus, letting you focus more on the joy of indulging and sharing.
Preparation Phase & Tools to Use
Creating your Butterfinger Balls is a seamless affair when you have the right tools at your disposal. Here’s what you need to make the magic happen:
- Mixing Bowl: A large bowl is essential for efficiently combining your ingredients without worrying about spills.
- Baking Sheet: Line this with parchment paper to prevent sticking and ensure easy cleanup.
- Microwave-Safe Bowl: Use this for melting your chocolate; the convenience of the microwave saves you time and hassle.
- Spoon or Fork: These helpful tools allow you to easily dip the balls into the melted chocolate, ensuring even coating.
Practical preparation tips:
- Set out all your ingredients ahead of time. This simple act smooths your workflow and makes the entire process more enjoyable.
- If you’re short on time or patience, consider using pre-crushed Butterfinger bits for even easier assembly.
Ingredients for Butterfinger Balls
Creating these indulgent treats requires just a few key ingredients. Here’s what you need:
- 1 cup creamy peanut butter: This forms the luscious base. If you’re looking for a different flavor, try using crunchy peanut butter for added texture.
- 1 1/2 cups crushed Butterfinger candy bars: The star ingredient! If you’re a fan of other chocolate bars, consider experimenting with Snickers or Reese’s for a twist.
- 2 cups chocolate chips (for coating): Milk chocolate offers the perfect sweetness; however, dark chocolate can add a complex flavor if that’s your preference.
- 1 tablespoon coconut oil (optional, for melting chocolate): This helps to create a silky-smooth coating for your candies.
How to Make Butterfinger Balls
Crafting your Butterfinger Balls is as delightful as eating them! Follow these steps for a foolproof treat:
- Combine the creamy peanut butter and crushed Butterfinger bars in a mixing bowl. Mix well until combined, feeling the texture change under your hands.
- Use your hands to mold the mixture into small balls, about 1 inch in diameter. Feel free to make them slightly larger or smaller based on your preference.
- Place the formed balls onto a baking sheet lined with parchment paper, ensuring they are spaced out for easy dipping later.
- In a microwave-safe bowl, melt your chocolate chips and coconut oil together. Microwave in 30-second intervals, stirring until smooth and glossy.
- Dip each peanut butter ball into the melted chocolate, ensuring a luxurious coating. Use a fork to lift it out, letting the excess chocolate drip back into the bowl.
- Return the coated balls to the baking sheet, repeating until all are done.
- Refrigerate for about 30 minutes to allow the chocolate to harden, transforming your creations into irresistible, bite-sized treasures.
Chef’s Notes & Helpful Tips
- Make-ahead tips: Prepare the peanut butter mixture a day in advance and store it in the fridge. Form the balls just before you plan to dip them in chocolate.
- Cooking alternatives: While melting chocolate is often easiest in the microwave, consider using a double boiler for a more controlled melting process.
- Customization ideas: Toss in some crushed nuts or mini marshmallows to the peanut butter mixture for an extra layer of flavor and texture. You might be amazed by how versatile these treats can become!
Common Mistakes to Avoid
- Not fully combining the mixture: Be sure to mix the peanut butter and crushed Butterfinger thoroughly. Incomplete mixing will lead to inconsistencies in flavor and texture.
- Skipping refrigeration: Don’t rush this step; chilling allows the candies to set properly and ensures a satisfying bite.
- Overheating chocolate: Melting chocolate can be tricky. Heat it slowly and stir frequently to prevent burning.
What to Serve With Butterfinger Balls
Pairing your delightful Butterfinger Balls with complementary treats enhances the overall experience. Consider these pairing ideas:
- Coffee: A robust cup of coffee balances the sweetness and adds depth to your indulgent treat.
- Milk: The classic pairing! The creamy texture of milk perfectly complements the rich flavor of the candies.
- Ice Cream: Serve them alongside a scoop of vanilla or chocolate ice cream for a decadent dessert experience.
- Fruit: Fresh fruits like strawberries or bananas provide a refreshing contrast to the rich flavors of the candies.
- Nutty Trail Mix: The crunchiness of nuts and seeds adds texture, enhancing your dessert platter.
- Chocolate Sauce Drizzle: For the ultimate chocolate lover’s experience, drizzle some warm chocolate sauce over your Butterfinger Balls before serving.
Storage & Reheating Instructions
Store your Butterfinger Balls in an airtight container in the fridge for optimal freshness. They can last for about a week, though you’ll find they rarely stick around that long! For longer storage, consider freezing them. Arrange cooled balls in a single layer on a baking sheet, freeze until solid, then transfer them to a freezer-safe container. To enjoy, just let them thaw in the refrigerator before indulging.
Estimated Nutrition Information
Each Butterfinger Ball contains approximately:
- Calories: 215
- Fat: 12g
- Carbohydrates: 25g
- Protein: 4g
Disclaimer: Nutritional values are estimates and may vary based on ingredient choices and portion sizes.
FAQs
Can I use crunchy peanut butter?
Absolutely! Crunchy peanut butter adds delightful texture and a nutty bite to your Butterfinger Balls.How do I get a smooth chocolate coating?
Ensure your chocolate is melted slowly for a silky texture. Stirring will help prevent any clumping.Can I customize the flavor?
Indeed! Feel free to mix in different chocolate bars or even add spices like cinnamon for unique flavor twists.What if my mixture is too dry?
If you find your mixture too dry, add a little more peanut butter or a touch of corn syrup to help bind the ingredients.Can these be made vegan?
Yes! Use vegan chocolate chips and natural peanut butter, ensuring all ingredients align with a plant-based diet.
Conclusion
Indulging in Butterfinger Balls is more than just a sweet treat; it’s about savoring life’s simple pleasures. As you take that first bite, you find a world of flavors and textures that bring joy and nostalgia. Whether for a celebration or simply to delight yourself, this recipe is a surefire way to brighten your day. So roll up your sleeves, gather your ingredients, and dive into making these delicious morsels. You won’t regret it, and your taste buds will thank you!
Print
Butterfinger Balls
- Prep Time: 15 minutes
- Cook Time: 30 minutes
- Total Time: 45 minutes
- Yield: 20 servings 1x
- Category: Dessert
- Method: No-Bake
- Cuisine: American
- Diet: Vegetarian
Description
Indulge in creamy peanut butter and crunchy Butterfinger candy balls coated in smooth chocolate for a delightful treat.
Ingredients
- 1 cup creamy peanut butter
- 1 1/2 cups crushed Butterfinger candy bars
- 2 cups chocolate chips (for coating)
- 1 tablespoon coconut oil (optional, for melting chocolate)
Instructions
- Combine the creamy peanut butter and crushed Butterfinger bars in a mixing bowl. Mix well until combined.
- Mold the mixture into small balls, about 1 inch in diameter.
- Place the formed balls onto a baking sheet lined with parchment paper.
- Melt the chocolate chips and coconut oil together in a microwave-safe bowl, stirring until smooth.
- Dip each peanut butter ball into the melted chocolate, ensuring a luxurious coating.
- Return the coated balls to the baking sheet and repeat until all are done.
- Refrigerate for about 30 minutes to allow the chocolate to harden.
Notes
For a different twist, try using crunchy peanut butter or experiment with other candy bars in the mixture.
Nutrition
- Serving Size: 1 ball
- Calories: 215
- Sugar: 15g
- Sodium: 150mg
- Fat: 12g
- Saturated Fat: 4g
- Unsaturated Fat: 8g
- Trans Fat: 0g
- Carbohydrates: 25g
- Fiber: 1g
- Protein: 4g
- Cholesterol: 0mg