Introduction to Cherry Cheesecake Trifle
Imagine this: It’s been one of those busy days where time slips through your fingers, and you still need to whip up something special for dessert. Enter the Cherry Cheesecake Trifle, a delightful solution that combines creamy goodness with the tang of cherries. This layered dessert is not only simple to make but it’s also a guaranteed crowd-pleaser! Whether you’re hosting friends or treating your family, this trifle will impress without demanding too much of your precious time in the kitchen. Let’s dive into the deliciousness together!
Why You’ll Love This Cherry Cheesecake Trifle
This Cherry Cheesecake Trifle is a lifesaver for busy days. It’s quick to whip up, taking just 20 minutes of prep time. Plus, it’s a no-bake treat, so you don’t have to worry about turning on the oven. The layers of creamy cheesecake and sweet cherry pie filling create a symphony of flavors. Trust me, this dessert will leave your guests begging for seconds!
Ingredients for Cherry Cheesecake Trifle
This Cherry Cheesecake Trifle calls for a delightful mix of ingredients that come together to create layers of scrumptiousness. Here’s what you’ll need to gather:
- Graham crackers: These provide a crunchy base. You can crush them yourself or buy pre-crushed for convenience.
- Cream cheese: Softened cream cheese is the star of the cheesecake layer, giving it that rich, creamy texture we all love.
- Sour cream: This adds a tangy richness. If you’re looking for a lighter option, Greek yogurt works beautifully too!
- Granulated sugar: A little sweetness makes a big difference in balancing flavors.
- Vanilla extract: This aromatic addition enhances the overall taste and brings a warm, comforting note.
- Whipped cream: Use homemade for an extra touch of love or store-bought for ease. It lightens up the cheesecake mixture perfectly.
- Cherry pie filling: You can opt for store-bought for convenience, or if you’re feeling adventurous, homemade cherry filling will add a fresh touch!
Remember, you can find exact quantities at the bottom of the article, ready for printing. These ingredients blend together to create a dessert that’s not only easy to make, but utterly delicious and visually stunning, ready to steal the show at your next get-together!

How to Make Cherry Cheesecake Trifle
Creating your Cherry Cheesecake Trifle is a breeze. Trust me, you’ll feel like a culinary rockstar before you know it! Let’s dive into these simple steps, ensuring each layer shines with flavor and texture.
Step 1: Prepare the Cream Cheese Mixture
Start by grabbing a large mixing bowl. Using an electric mixer, beat your softened cream cheese until it’s fluffy and smooth. This is key! A creamy base is what makes your cheesecake layer so luscious. If it’s not fluffy, your trifle texture might suffer. It should feel like a cloud. Once it’s perfectly blended, get ready for the next step. Patience is crucial here; don’t rush the blending. Keep scraping down the sides of the bowl to include all that delightful cream cheese. In just a few minutes, you’ll have a mixture so creamy, it’ll make your heart sing!
Step 2: Mix in Sour Cream, Sugar, and Vanilla
Next, it’s time to add in the sour cream, granulated sugar, and vanilla extract. Simply dump these into the creamy mixture you created. Using your mixer, blend everything together until you achieve an even consistency. The sugar should disappear, and the mixture should look velvety smooth. This is where the flavor starts to build; the tangy taste of sour cream perfectly contrasts the sweetness. Take a moment to enjoy the wonderful aroma swirling in your kitchen. You’re one step closer to deliciousness!
Step 3: Fold in the Whipped Cream
Now, here’s where the magic happens! With a spatula in hand, you’ll gently fold in the whipped cream into your mixture. This is a delicate process, so take your time. The goal is to incorporate the whipped cream without losing all that lovely airiness. You want your trifle to be light and fluffy! Keep folding until no streaks remain. It should all blend together seamlessly, creating that iconic cheesecake texture. This step can make or break your trifle, so enjoy the moment and be gentle!
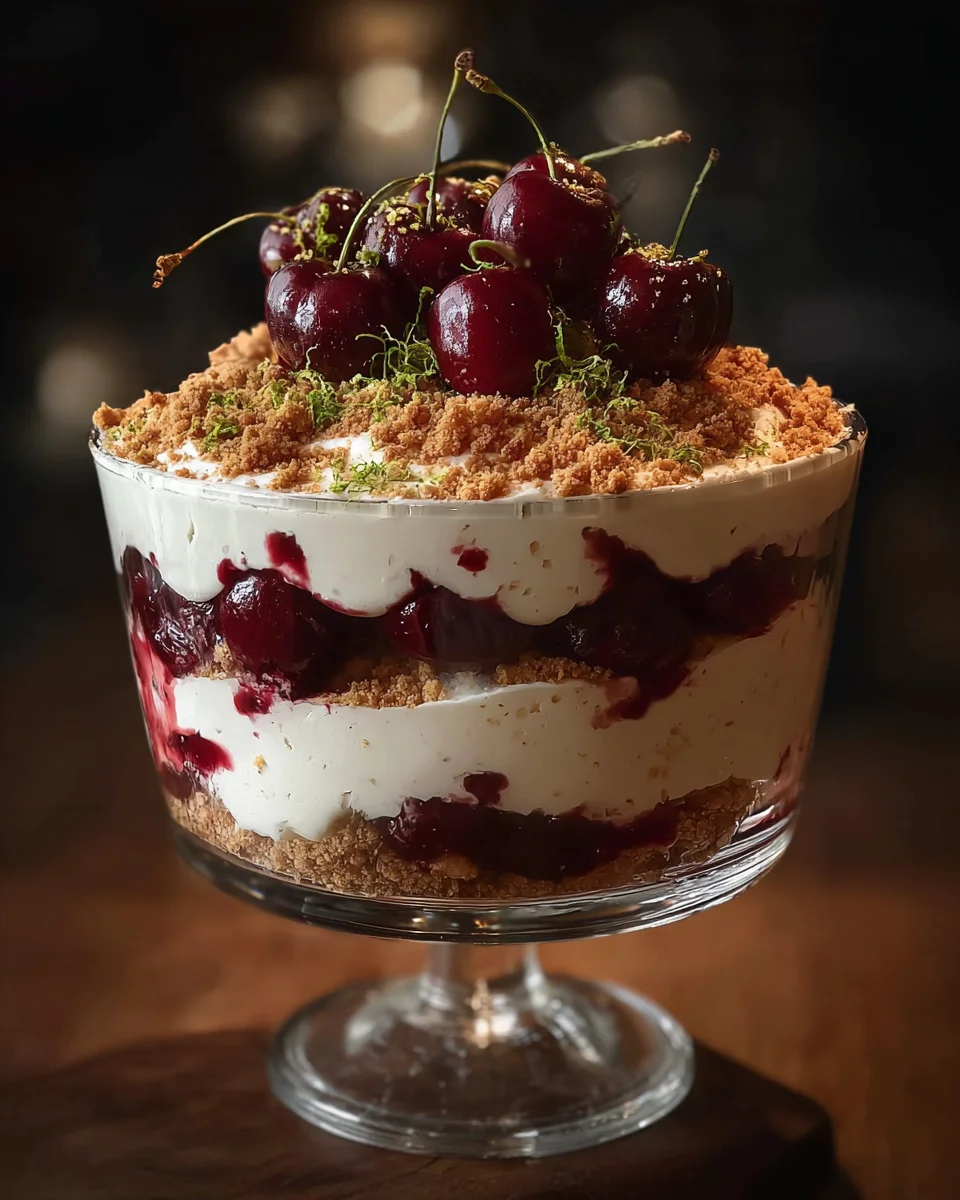
Step 4: Assemble the Trifle
Grab your trifle dish or a clear glass bowl—this dessert deserves to be seen! Start with a layer of crushed graham crackers at the bottom. Don’t skimp! You want that extra crunch. Then, spoon in some of your creamy cheesecake mixture, spreading it evenly. Next, add a layer of cherry pie filling; make sure to drizzle it around a bit for that sweet flair. Repeat these layers until you reach the top of your dish. Don’t forget to finish with a generous dollop of whipped cream and a few cherries on top for presentation. It’s truly a work of art!
Step 5: Refrigerate for Flavor Enhancement
Cover your beautiful trifle with plastic wrap—this helps preserve its freshness. For the best flavor, pop it in the fridge for at least 2 hours, or even overnight if you can wait! This chilling time allows all those heavenly flavors to meld together. When you’re ready to serve, just imagine the joy on your family’s faces! Enjoy every bite of your Cherry Cheesecake Trifle, a sweet masterpiece you’ve created.
Tips for Success
- Make sure your cream cheese is softened for easy blending; leave it out for at least 30 minutes.
- Don’t rush the folding of the whipped cream; it’s essential for lightness!
- Chill the trifle overnight for the best flavor and texture.
- Use a clear dish to showcase those beautiful layers.
- Serve with extra cherry pie filling on the side for a fun twist!
Equipment Needed
- Large mixing bowl: A sturdy bowl is essential; you can also use a stand mixer bowl for easy blending.
- Electric mixer: This helps achieve a smooth cream cheese mixture; a whisk works too, but it’ll take more effort.
- Spatula: To gently fold in whipped cream and serve layers beautifully.
- Trifle dish or glass bowl: A clear bowl showcases your layers; any deep dish can work in a pinch.
- Measuring cups: For accurate ingredient amounts if you’re following the recipe closely.
Variations of Cherry Cheesecake Trifle
- Peach or Berry Bliss: Swap out the cherry pie filling for fresh peaches, strawberries, or a mix of berries for a refreshing twist.
- Chocolate Indulgence: Add chocolate pudding or layers of crushed Oreo cookies in place of graham crackers for a decadent chocolate cheesecake trifle.
- Healthier Option: Use low-fat cream cheese and Greek yogurt instead of sour cream to lighten things up without sacrificing flavor.
- Gluten-Free Delight: Substitute regular graham crackers with gluten-free ones to cater to dietary restrictions while keeping the crunch!
- Coconut Cream Dream: Incorporate sweetened shredded coconut into the cheesecake mixture and use coconut whipped cream for a tropical flair.
Serving Suggestions
- Fresh Berries: Serve with a side of fresh berries for added flavor and color.
- Iced Tea: Pair with sweet iced tea or lemonade for a refreshing drink combo.
- Elegant Presentation: Use clear dishes to display those gorgeous layers beautifully.
- Mint Leaves: Garnish with mint leaves for a burst of color and freshness.
FAQs about Cherry Cheesecake Trifle
Can I make the Cherry Cheesecake Trifle ahead of time?
Absolutely! In fact, making it a day in advance enhances the flavors. Just cover it tightly with plastic wrap and chill in the fridge until you’re ready to serve.
How do I store leftovers?
Store any leftovers in an airtight container in the refrigerator. It should stay fresh for about 3 days. Just remember, the layers may lose some of their texture over time, so enjoy it quickly!
Can I substitute the cherry pie filling?
Certainly! Feel free to swap the cherry pie filling for any fruit pie filling you adore. Blueberry or strawberry would work beautifully, too. Homemade fillings can add an extra special touch!
Is it possible to make this Cherry Cheesecake Trifle gluten-free?
Yes! Simply use gluten-free graham crackers in place of regular ones. This way, you can still indulge in this layered dessert without worry.
Can I use reduced-fat cream cheese for this recipe?
Of course! Using reduced-fat cream cheese can lighten the dish while still keeping the luscious texture and taste you’re looking for in a Cherry Cheesecake Trifle.
Final Thoughts
As I reflect on my journey with the Cherry Cheesecake Trifle, I’m reminded of how this delightful dessert has the power to turn ordinary moments into something special. Its layers of creamy goodness and sweet cherries are a celebration on any table, making it perfect for gatherings or quiet nights at home. Each spoonful not only delights the taste buds but also warms the heart. So, whether you’re impressing guests or indulging yourself, this trifle is a gorgeous centerpiece that will undoubtedly become a cherished recipe in your home. Enjoy creating delicious memories!
Print
Cherry Cheesecake Trifle
- Prep Time: 20 minutes
- Cook Time: 0 minutes
- Total Time: 2 hours and 20 minutes
- Yield: 8 servings 1x
- Category: Dessert
- Method: No-bake
- Cuisine: American
- Diet: Vegetarian
Description
A cherry cheesecake trifle is a delicious layered dessert combining creamy cheesecake, graham crackers, and cherry pie filling.
Ingredients
- 1 package (about 14 oz) graham crackers, crushed
- 2 packages (8 oz each) cream cheese, softened
- 1 cup sour cream (or Greek yogurt)
- 1 cup granulated sugar
- 1 teaspoon vanilla extract
- 2 cups whipped cream (homemade or store-bought)
- 1 can (21 oz) cherry pie filling (or homemade if you’re up for it!)
Instructions
- In a large mixing bowl, beat the cream cheese until smooth and fluffy.
- Add the sour cream, sugar, and vanilla extract to the cream cheese, and mix until everything is well-combined and creamy.
- Gently fold in the whipped cream until no white streaks remain.
- In a trifle dish or a glass bowl, begin with a layer of crushed graham crackers at the bottom.
- Add a layer of the cheesecake mixture, followed by a layer of cherry pie filling. Repeat these layers until you run out of ingredients, finishing with whipped cream and a few cherries on top.
- Cover with plastic wrap and refrigerate for at least 2 hours, or overnight.
Notes
- For a homemade cherry pie filling, use fresh or frozen cherries cooked with sugar and cornstarch.
- Chilling the trifle helps enhance the flavors.
- Can be prepared a day in advance for better results.
Nutrition
- Serving Size: 1 serving
- Calories: 320
- Sugar: 29g
- Sodium: 200mg
- Fat: 18g
- Saturated Fat: 11g
- Unsaturated Fat: 6g
- Trans Fat: 0g
- Carbohydrates: 38g
- Fiber: 1g
- Protein: 4g
- Cholesterol: 60mg


