Introduction to Christmas Poke Cake
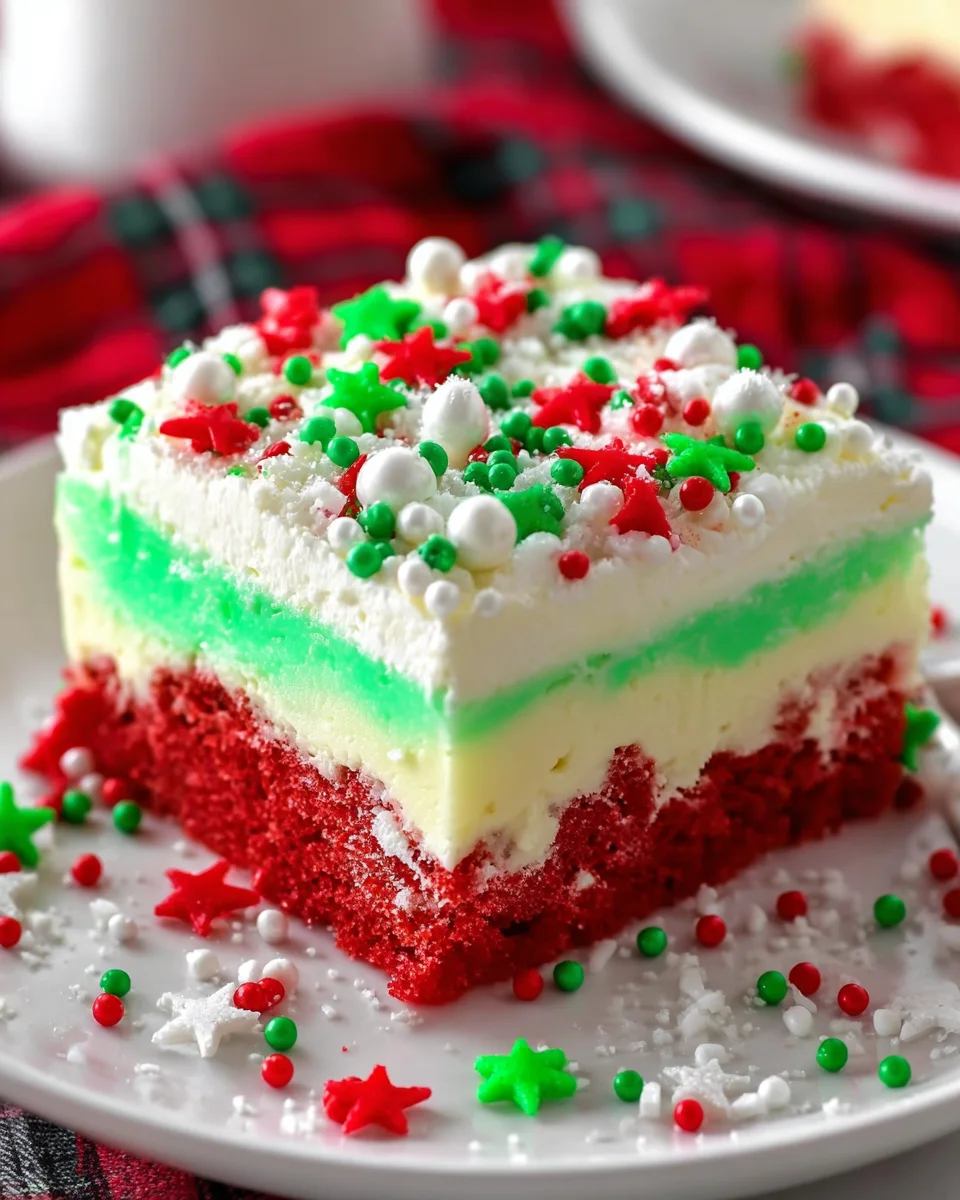
As the holiday season approaches, I find myself craving cozy family traditions and mouthwatering desserts. One recipe that never fails to impress is my Christmas Poke Cake. This delightful treat is not only a feast for the eyes, but it also bursts with festive flavors.
When you’re short on time or looking to dazzle your loved ones, this cake is the ultimate solution. It combines the charm of homemade baking with the simplicity of Jell-O layers and Cool Whip topping, creating a dessert that’s sure to be a hit at any holiday gathering.
Why You’ll Love This Christmas Poke Cake
This Christmas Poke Cake is a game-changer in holiday desserts!
It’s quick to whip up, taking just a bit of prep and bake time, allowing you to juggle the chaos of holiday planning.
The delightful combination of Jell-O-infused layers offers a burst of flavor, while the Cool Whip makes every bite feel like a cloud of sweetness. Family and friends will rave about this charming cake, making it an instant favorite!
Ingredients for Christmas Poke Cake
Gathering your ingredients is the first step to bringing this festive creation to life. Here are the essentials you’ll need for a fabulous Christmas Poke Cake:
- White Cake Mix: The base for our cake, providing a light and fluffy texture. You can choose a brand that you love or even make your own from scratch if you’re feeling adventurous.
- Vegetable Oil: This adds moisture and tenderness to the cake, ensuring it doesn’t dry out. You could substitute with canola oil or melted coconut oil for a little twist.
- Egg Whites: These help create a feathery light cake. If you’re in a hurry, a carton of egg whites works just as well!
- Cherry Jell-O: This brings a pop of vibrant color and flavor. Feel free to swap this for raspberry or strawberry Jell-O for a fruity flavor change.
- Lime Jell-O: The tangy twist complements the cherry beautifully, adding a festive hue. You could also try lemon or orange Jell-O for a citrusy kick.
- Boiling Water: Necessary for dissolving the Jell-O powder effectively. Make sure to mix it in right away for the best results.
- Cold Water: This helps cool down the Jell-O and sets it just right, creating those lovely layers.
- Cool Whip: The fluffy topping that steals the show. It’s easy to spread, but you can also use homemade whipped cream if you prefer a fresher taste.
- Christmas Sprinkles: These festive decorations make your cake visually appealing! You can choose any sprinkles that match your holiday theme.
For exact quantities, check the bottom of the article where you can also find a printable version of this delightful Christmas Poke Cake recipe.

How to Make Christmas Poke Cake
Now that you’ve gathered your ingredients, let’s dive right into the fun part: making your Christmas Poke Cake! Follow these simple steps, and you’ll have a festive dessert in no time!
Step 1: Preheat and Prepare
First things first, preheat your oven to 350℉. This is crucial for ensuring your cake bakes evenly. While that’s heating up, grease your baking dish. I always use non-stick spray or a light coating of vegetable oil. This way, you won’t need to worry about your cake sticking!
Step 2: Mix the Cake Batter
Next, it’s time to mix up your cake batter. Combine the white cake mix with the ingredients listed on the back of the box. Usually, this includes water, vegetable oil, and egg whites. Use a whisk or an electric mixer to mix until smooth, but try not to overmix. A few lumps are fine!
Step 3: Bake the Cake
Now, pour that lovely batter into your greased baking dish. Bake for about 29-33 minutes, or follow the time indicated on your cake mix box. Be sure to check for doneness by inserting a toothpick into the center; it should come out clean. This is where the delicious aroma fills your kitchen!
Step 4: Cool the Cake
Once baked, remove the cake from the oven and let it cool completely for at least 20-30 minutes. This is a great time to tidy up your kitchen or maybe pour yourself a nice cup of tea. Waiting is tough, but trust me, it’s essential for the next step!
Step 5: Poke the Cake
When your cake has cooled, grab a fork and poke 5 columns of holes into it. Don’t be shy; these holes create perfect pockets for your Jell-O to soak in. The more holes, the more flavor your cake will absorb!
Step 6: Prepare the Jell-O
Now, let’s make the Jell-O! In separate bowls, place each flavor of Jell-O mix. Carefully measure about half of the boiling water into each bowl, stirring until the powder dissolves completely. Then, mix in half of the cold water into each bowl. The result should be a wonderfully vibrant mixture!
Step 7: Add the Jell-O Layers
Using a spoon, gently spoon the Jell-O mixtures over the cake in an alternating pattern. This will create a festive design throughout your cake. I love to make it look as colorful as possible! Each spoonful taking it to a whole new level of cheerful!
Step 8: Chill the Cake
After layering the Jell-O, it’s time to chill your cake! Pop it into the fridge for at least 1 hour. This crucial step allows the Jell-O to set and meld with the cake, ensuring every slice delivers maximum flavor!
Step 9: Top with Cool Whip
Once chilled, it’s time for the magic touch: Cool Whip! Spread it evenly over the top of your cake. This not only adds a sweet touch but also makes your creation look stunning. Trust me; everyone will want a piece of this beauty!
Step 10: Final Chill
Finally, for the best flavor, chill the cake again for at least another hour or, if you can wait, overnight! The longer it sits, the more those delicious flavors meld together. When you’re ready to serve, get ready for some rave reviews!
Tips for Success
- Ensure your ingredients are at room temperature for better mixing.
- Don’t rush the cooling process; it’s crucial for Jell-O absorption.
- For vibrant colors, use different flavors of Jell-O.
- Top with sprinkles just before serving to keep them crunchy.
- Use a toothpick to test cake doneness accurately.
- Chilling overnight maximizes flavor melding; it’s worth the wait!
Equipment Needed
- Baking Dish: A 9×13 inch pan is perfect. You can also use a glass or ceramic dish for a pop of color.
- Mixing Bowls: Use two medium-sized bowls for mixing the cake batter and the Jell-O.
- Whisk or Electric Mixer: A whisk is fine, but an electric mixer saves time if you’re short on it!
- Fork: Essential for poking holes in the cake, ensuring it absorbs all the flavors.
- Measuring Cups and Spoons: To get your ingredient quantities just right.
Variations
- Flavor Twists: Swap the Jell-O flavors for other fruity options like blue raspberry and lemon for a dazzling color variation.
- Gluten-Free Option: Use a gluten-free cake mix to cater to family members with dietary restrictions.
- Dairy-Free Delight: Substitute Cool Whip with a dairy-free whipped topping for a lactose-free treat.
- Layer It Up: Add a layer of fresh fruit, like strawberries or kiwi, between the cake layers for extra freshness.
- Chocolate Lovers: Use chocolate cake mix and berry Jell-O for a rich and festive twist.
Serving Suggestions
- Pair it with Coffee: A warm cup of coffee complements the sweetness perfectly.
- Add Fresh Fruit: Serve slices of your favorite seasonal fruit for a refreshing touch.
- Elegant Presentation: Use a festive cake stand for a stunning display at gatherings.
- Ice Cream Delight: A scoop of vanilla ice cream on the side adds extra indulgence.
FAQs about Christmas Poke Cake
As I share my love for this charming dessert, I often hear a few common questions pop up. Here’s a little FAQ to guide you as you prepare your Christmas Poke Cake!
Can I use different Jell-O flavors for the Christmas Poke Cake?
Absolutely! Feel free to mix and match your favorite flavors. It’s a fun way to personalize the cake and play with colors!
How long can I store the Christmas Poke Cake?
This cake can be stored in the fridge for up to 3-4 days. Just cover it gently so it stays fresh and moist.
Can I make the cake ahead of time?
Yes! You can prepare the cake a day in advance. Just remember to chill it overnight for the best flavor and texture!
Is it possible to freeze the Christmas Poke Cake?
I wouldn’t recommend freezing it once topped with Cool Whip, as it can change the texture. However, the unfrosted cake can be frozen for a couple of months!
How do I make the cake gluten-free?
Switching to a gluten-free cake mix is an easy solution! Just be sure to use gluten-free Jell-O as well, which is widely available.
Final Thoughts
The joy of baking a Christmas Poke Cake is truly a delightful experience that unites family and friends around the dinner table.
As the vibrant layers of flavor dance together, every slice becomes a moment of celebration.
This cake isn’t just a treat; it’s a heartfelt reminder of cherished holiday traditions.
Whether you’re sharing it at a festive gathering or enjoying it on a cozy night in, each bite is a sprinkle of joy.
So, roll up your sleeves and create this festive masterpiece that will surely warm hearts and brighten the holidays!
Print
Christmas Poke Cake
- Prep Time: 20 minutes
- Cook Time: 30 minutes
- Total Time: 2 hours 50 minutes (including chilling time)
- Yield: 12 servings 1x
- Category: Dessert
- Method: Baking
- Cuisine: American
- Diet: Vegetarian
Description
A festive and delightful Christmas Poke Cake that features delicious jell-o layers and a fluffy Cool Whip topping.
Ingredients
- 1 15.25 ounce box White Cake Mix
- 1 cup Water
- ½ cup Vegetable Oil
- 3 Egg Whites
- 1 3 ounce box Cherry Jell-O
- 1 3 ounce box Lime Jell-O
- 1 cup boiling water, divided
- 1 cup cold water, divided
- 1 8 ounce tub of Cool Whip
- ¼ cup Christmas Sprinkles
Instructions
- Preheat your oven to 350℉ and grease your baking dish.
- Make the cake by combining the cake mix with the ingredients on the back of the box.
- Bake the cake for 29-33 minutes, or the time it tells you to bake on the back of your cake mix.
- Allow the cake to cool completely (at least 20-30 minutes).
- Poke 5 columns of holes into the cake with a fork.
- Make the jell-o by placing the contents of each jello mix into separate bowls, adding about half of the boiling water to each jello mix, stirring, and then adding about half of the cold water to each jello mix and stirring again.
- Spoon the jell-o mixtures over the cake with a spoon, in an alternating pattern.
- Chill the cake in the fridge completely, at least 1 hour.
- Add the cool whip to the top and spread evenly.
- Chill the cake for at least another hour, preferably overnight, before serving and enjoying!
Notes
- For the best flavor, chill the cake overnight.
- You can customize the jell-o flavors according to your preference.
Nutrition
- Serving Size: 1 slice
- Calories: 220
- Sugar: 24g
- Sodium: 200mg
- Fat: 8g
- Saturated Fat: 3g
- Unsaturated Fat: 3g
- Trans Fat: 0g
- Carbohydrates: 35g
- Fiber: 0g
- Protein: 2g
- Cholesterol: 0mg


