Introduction to Festive Peppermint Cake
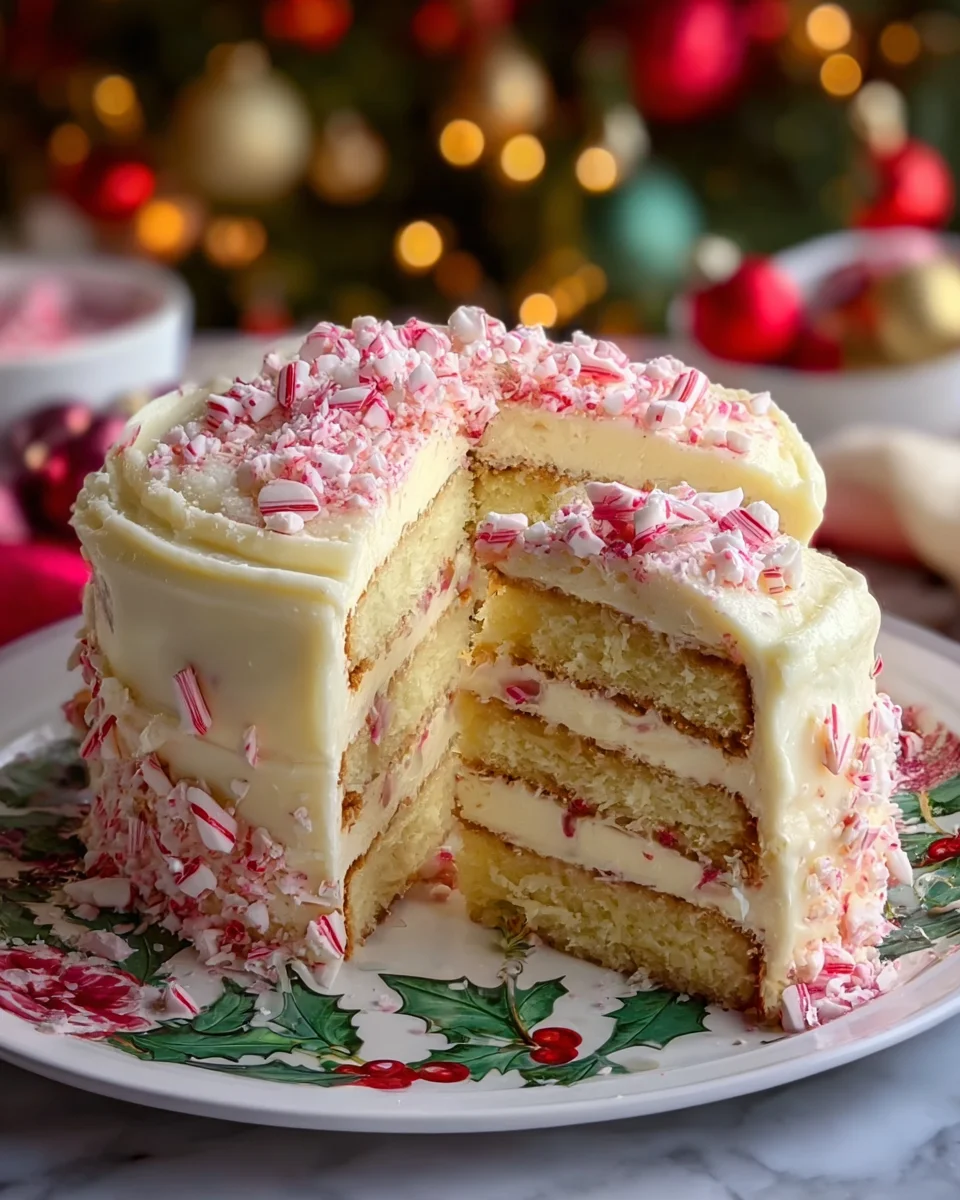
As the holidays approach, I find myself longing for warm, cozy flavors that evoke the spirit of the season. That’s where my Festive Peppermint Cake comes into play! This cake isn’t just a treat; it’s a festive hug in dessert form. Picture layers of moist cake bursting with peppermint goodness, topped with creamy frosting and delightful candy canes. Perfect for busy moms and professionals alike, this cake fits right into your holiday gatherings, making it a centerpiece that says “celebrate”! Let’s embark on this delightful baking adventure together.
Why You’ll Love This Festive Peppermint Cake
There’s something magical about a Festive Peppermint Cake that captures the joy of the holidays. It’s easy to make, so even on your busiest days, you can whip up this delightful dessert in no time. The rich, fluffy layers paired with peppermint make every bite a celebration. Plus, the festive colors and crushed candy canes add a fun touch, making it a festive favorite for family and friends!
Ingredients for Festive Peppermint Cake
Creating the perfect Festive Peppermint Cake starts with the right ingredients. Each one plays a vital role in delivering that delightful holiday flavor. Here’s what you’ll need:
- All-purpose flour: The foundation of your cake, providing the right texture.
- Granulated sugar: Adds sweetness and helps create that fluffy cake we adore.
- Baking powder: The secret behind a perfectly risen cake, making each slice light and airy.
- Salt: Just a pinch enhances the overall flavors, balancing the sweetness beautifully.
- Unsalted butter: Softened butter is essential for creating that rich, creamy base in the batter.
- Large eggs: These help bind everything together, giving the cake structure.
- Whole milk: Adds moisture and richness, making the cake incredibly tender.
- Peppermint extract: This is where the magic happens! It infuses all the delicious peppermint flavor into the cake.
For the frosting, you’ll need the following:
- Unsalted butter: Again, for creaminess and flavor in your frosting.
- Powdered sugar: This gives the frosting a silky texture and sweetness.
- Heavy cream: Just a splash will help achieve that dreamy consistency that’s easy to spread.
- Peppermint extract: Another burst of flavor, creating the perfect peppermint swirl in your frosting.
- Red food coloring: Optional, but adds a festive flair to your frosting, perfect for holiday gatherings!
- Crushed candy canes: The delightful finishing touch that crunches with every bite and brings that holiday spirit to life!
For given quantities, tips, and substitutions, check the bottom of the article, where you’ll find everything clearly laid out and ready for printing!

How to Make Festive Peppermint Cake
Step 1: Preheat and Prepare
Let’s kick things off with some good old-fashioned prep! First, preheat your oven to 350°F (175°C). This ensures your cake bakes evenly, achieving that delightful, moist texture. While the oven warms up, grab two 8-inch round cake pans and give them a light coating of butter or non-stick spray. Next, line the bottoms with parchment paper for easy removal later. It’s like giving your cake a little safety net! Trust me, there’s nothing worse than a cake that sticks to the pan, right? Set those pans aside, and let’s move forward to mix our dry ingredients!
Step 2: Mix Dry Ingredients
In a medium bowl, whisk together the all-purpose flour, baking powder, and salt. This simple step breathes life into your cake, ensuring it rises beautifully like a holiday soufflé. The baking powder is your secret weapon for fluffiness! Give it a good stir, and picture all the flavors blending together like old friends. Once combined, set this bowl aside. We’re building layers of yumminess here, and this dry mixture is an essential part of our cake!
Step 3: Cream Butter and Sugar
In a large mixing bowl, beat the softened butter and granulated sugar together until light and fluffy—about 2 to 3 minutes should do the trick. Imagine the rich, creamy texture forming right before your eyes! The air you whip into the butter-sugar mixture is crucial for that tender crumb. You’ll know it’s ready when it resembles clouds on a sunny day. This is the moment when the sweet smell of baking begins to weave through your kitchen, filling it with holiday cheer!
Step 4: Add Eggs and Milk
Now, let’s incorporate those large eggs, one at a time, into your buttery goodness. Beat until just combined after each addition. With every egg, we’re adding richness and structure, making our layers nice and sturdy. Then, pour in the whole milk and peppermint extract, stirring until it’s all blended together. Ah, the peppermint aroma will elevate your spirits! No need to worry if the mixture looks slightly curdled; it will all come together beautifully once we add the dry ingredients!
Step 5: Combine Wet and Dry Mixtures
Now comes the fun part—folding! Gradually add the dry mixture to the wet ingredients. Use a spatula to gently fold them together until just combined. Avoid overmixing, or we risk the cake turning out dense—yikes! You want to keep that light fluffiness we’ve been working so hard for. This is where the cake starts to reveal its potential. In just a few moments, you’ll have a luscious batter ready to bake!
Step 6: Bake the Cake
Time to divide that beautiful batter evenly between the two prepared cake pans. Use a spatula to smooth the tops, ensuring even baking. Pop them in your preheated oven and let them bake for 25 to 30 minutes. The kitchen will be filled with heavenly scents as they rise. To test for doneness, insert a toothpick into the center—if it comes out clean, you’re golden! Once baked, the cakes should be perfectly fluffy, just waiting to be frosted.
Step 7: Cool the Cakes
When your cakes are done, take them out and let them cool in the pans for about 10 minutes. This gives them a little breathing room! Afterward, gently turn them out onto a wire rack to cool completely. Cooling is crucial—it prevents the frosting from melting and ensures that each layer is sturdy and ready for decoration. And let’s be honest, we want our finished cake to be Instagram-worthy, right?
Step 8: Make the Frosting
While your cakes cool, it’s time to whip up that dreamy frosting! In a mixing bowl, beat the softened butter until creamy. Gradually add the powdered sugar, and watch as it turns into a fluffy concoction. Add in the peppermint extract and heavy cream until you reach your desired consistency. If you’re feeling festive, mix in some red food coloring to create beautiful swirls. Trust me, the final look is just as important as the taste!
Step 9: Frost the Cakes
With your cakes cooled and frosting ready, it’s about to get delicious! Place one layer of the cake on a serving plate. Spread a generous layer of frosting on top, then carefully place the second layer on top. Frost the top and sides of the cake, ensuring every inch is covered. Finally, sprinkle crushed candy canes all over for that festive crunch. Voilà! You now have a stunning Festive Peppermint Cake waiting to be sliced and enjoyed—perfect for impressing family and friends this holiday season!
Tips for Success
- Always measure your flour accurately; spoon it into the measuring cup and level it off.
- Allow your eggs and milk to come to room temperature for better mixing.
- Don’t skip the cooling time—this helps the cake stay moist and hold its shape.
- If your frosting is too thick, add an extra splash of heavy cream for smoothness.
- For a festive touch, decorate with mint sprigs or more candy canes!
Equipment Needed
- Mixing bowls: A set of various sizes is ideal; if you only have one, just wash and reuse.
- Electric mixer: A hand mixer works great; if you’re feeling nostalgic, use a whisk for a workout!
- Measuring cups and spoons: Essential for accuracy; consider a kitchen scale for more precision.
- Cake pans: 8-inch round pans are standard; substitute with square or triangular pans if that’s what you have!
- Spatula: A flexible spatula is perfect for folding and spreading; a butter knife can do in a pinch!
Variations of Festive Peppermint Cake
- Chocolate Peppermint Cake: Substitute half of the all-purpose flour with cocoa powder for a decadent chocolate version that pairs beautifully with peppermint.
- Gluten-Free Option: Use a 1:1 gluten-free all-purpose flour blend to make this cake suitable for gluten-sensitive friends and family.
- Vegan Variation: Swap eggs for flaxseed meal mixed with water and use almond or coconut milk in place of whole milk. For frosting, choose a dairy-free butter alternative.
- Layered Peppermint Cheesecake: Transform this recipe into a two-layer peppermint cheesecake by combining the cake batter with a rich cream cheese filling for extra creaminess.
- Mini Peppermint Cakes: Bake your cake in muffin tins to create adorable mini cakes. They’re perfect for gift-giving or festive parties!
Serving Suggestions for Festive Peppermint Cake
- Pair slices of your Festive Peppermint Cake with a warm cup of hot cocoa or peppermint tea.
- Add a scoop of vanilla ice cream on the side for an extra treat!
- For a beautiful presentation, dust the top with powdered sugar and garnish with fresh mint leaves.
- Serve on a colorful cake stand to brighten up your holiday table.
- Consider a sparkling fruit salad as a refreshing side.
FAQs about Festive Peppermint Cake
Can I make this Festive Peppermint Cake ahead of time?
Absolutely! You can bake the cake layers in advance and store them in the freezer. Just frost it when you’re ready to serve, and it will taste freshly made!
What if I don’t have peppermint extract?
No worries! You can substitute it with peppermint flavoring or even vanilla for a different yet delightful taste. It won’t have that peppermint punch, but it will still be scrumptious.
Can I customize the frosting?
Yes! Feel free to add chocolate or other extracts to create a unique flavor. A cream cheese frosting could also add a delicious twist to your holiday dessert.
How do I store leftover cake?
Store your Festive Peppermint Cake in an airtight container at room temperature for up to three days. If you wish to keep it longer, refrigerate it for extra freshness.
What drinks pair well with this cake?
A warm cup of hot cocoa, a festive raspberry tea, or even a glass of milk works beautifully with this cake. It’s a sweet, cozy treat that’s perfect for any holiday gathering!
Final Thoughts
Making a Festive Peppermint Cake isn’t just about baking; it’s about creating joyful memories. I love how this cake brings everyone together, filling the room with smiles and laughter. The delicate peppermint flavor dances with every bite, reminding us of the magic of the holiday season. Whether you’re celebrating with family or friends, this cake is a heartfelt centerpiece that makes every gathering special. So put on your apron, let the aroma fill your home, and enjoy the delightful experience that comes from sharing a slice of this festive treat with loved ones!
Print
Festive Peppermint Cake
- Prep Time: 30 minutes
- Cook Time: 30 minutes
- Total Time: 1 hour
- Yield: 12 servings 1x
- Category: Dessert
- Method: Baking
- Cuisine: American
- Diet: Vegetarian
Description
A delightful holiday treat featuring layers of moist cake infused with peppermint flavor and topped with creamy frosting and crushed candy canes.
Ingredients
- 2 ½ cups all-purpose flour
- 1 ¾ cups granulated sugar
- 2 ½ tsp baking powder
- ½ tsp salt
- ½ cup unsalted butter, softened
- 4 large eggs, room temperature
- 1 cup whole milk
- 1 tsp peppermint extract
- 1 cup unsalted butter, softened (for frosting)
- 4 cups powdered sugar (for frosting)
- 2–3 tbsp heavy cream (for frosting)
- ½ tsp peppermint extract (for frosting)
- Red food coloring (optional, for frosting)
- ½ cup crushed candy canes (for topping)
Instructions
- Preheat the oven to 350°F (175°C). Grease and line two 8-inch round cake pans with parchment paper.
- In a medium bowl, whisk together the flour, baking powder, and salt.
- In a large bowl, beat the softened butter and sugar together until light and fluffy, about 2-3 minutes.
- Beat in the eggs one at a time. The batter may look slightly curdled but will smooth out when dry ingredients are added.
- Add the milk and peppermint extract to the butter-sugar mixture and stir until combined.
- Gradually add the dry ingredients to the wet mixture, folding until just combined. Avoid overmixing.
- Divide the batter evenly between the two cake pans. Bake for 25-30 minutes, or until a toothpick inserted in the center comes out clean.
- Let the cakes cool in the pans for 10 minutes, then transfer to a wire rack to cool completely.
- To make the frosting, beat the butter until creamy, then gradually add the powdered sugar. Add the peppermint extract and heavy cream until the frosting reaches the desired consistency. Add red food coloring for swirls if desired.
- Place one cake layer on a plate or cake stand. Spread a generous amount of frosting on top, then add the second layer. Frost the top and sides, then sprinkle crushed candy canes over the top.
Notes
- Store the cake in an airtight container at room temperature for up to 3 days.
- For a stronger peppermint flavor, add more peppermint extract to taste.
- This cake can be made ahead of time and frozen; just frost before serving.
Nutrition
- Serving Size: 1 slice
- Calories: 350
- Sugar: 30g
- Sodium: 200mg
- Fat: 12g
- Saturated Fat: 7g
- Unsaturated Fat: 3g
- Trans Fat: 0g
- Carbohydrates: 54g
- Fiber: 1g
- Protein: 4g
- Cholesterol: 70mg


