Introduction to Hocus Pocus Cookies
As the fall comes and the wind becomes light, it is the season of having warm evenings with particular treats. These are some of my best-loved recipes: Hocus Pocus Cookies. These yummy treats do not take magic to prepare and are a great addition for any fall get-together. Whether you are getting ready for a Halloween bash or just desire something celebratory for your household, these cookies are the response. With that being said, let us make a cookie that has entertainment, taste, and just a smidgen of frivolity; a real present for every age!
Why You’ll Love This Hocus Pocus Cookies
These Hocus Pocus Cookies are a perfect addition to today’s extremely busy lifestyle of moms and career professionals like us. Let’s inject little portions of happiness into our lives without wasting much of our precious time in the kitchen. Assembling in just thirty minutes, they’re the go-to time-saving salvation when the clock runs out toward assembling treats for an occasion. So colorful and yummy, they’ll all visibly enjoy them at your table, without casting any magic wands.
Ingredients for Hocus Pocus Cookies
Gathering the right ingredients is half the fun of baking. For these Hocus Pocus Cookies, you’ll need some simple staples along with a splash of creativity. Here’s what you’ll want:
- White cake mix: This serves as the base for our cookies, creating a moist and fluffy texture.
- Baking powder: Just a teaspoon helps our cookies rise, giving them that perfect pillowy consistency.
- Eggs: Two eggs add binding and moisture, enriching the dough.
- Vegetable oil: Using oil here keeps the cookies tender and deliciously soft.
- Vanilla extract: A splash of this fragrant extract boosts flavor, making the cookies truly delightful.
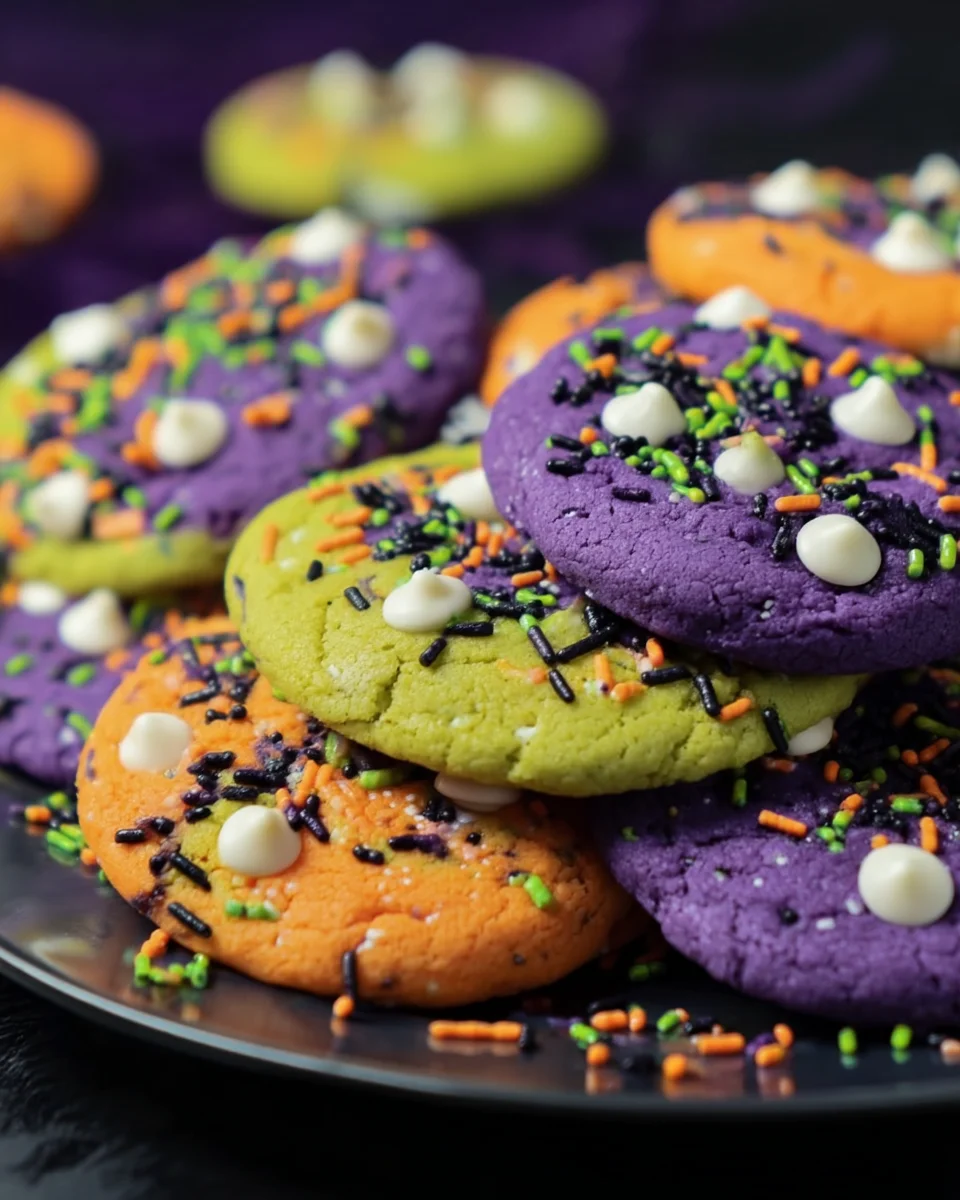
- Gel food coloring (Orange, Purple, Lime Green): These vibrant colors create a fun and festive appearance, perfect for haunt-worthy treats.
- White chocolate chips: Adding three chips per cookie brings a sweet contrast and delightful bite.
- Halloween-themed sprinkles: Sprinkles add a festive flair that makes these cookies even more magical.
Feel free to experiment! You can also roll the dough balls in colored sugar or add your favorite mix-ins for an extra touch. For exact measurements, check below where I’ve laid them out clearly for you to print and use.

How to Make Hocus Pocus Cookies
Now that you’ve got the ingredients ready, let’s bake some magic! Making Hocus Pocus Cookies is a delightful adventure that involves simple steps and a sprinkle of creativity. Follow me through each step, and don’t worry; I’ll share tips along the way to ensure they turn out just right!
Step 1: Preheat the Oven
First things first, let’s get that oven warming up! Preheat it to 350°F (175°C). Preheating is so important because it helps ensure that the cookies bake evenly. No one wants a cookie that’s raw in the middle and crispy on the edges!
Step 2: Mix the Base
In a large bowl, combine your white cake mix with the baking powder. Stir them together well. This step is crucial; mixing slowly helps avoid lumps and creates a nice, smooth dough. It’s like prepping the foundation of a magical castle!
Step 3: Add Wet Ingredients
Now, it’s time to enrich that dough. Crack in your two eggs, pour in the vegetable oil, and add the vanilla extract. These ingredients come together to create a sticky and flavorful dough. Trust me, the aroma of vanilla is going to be enchanting!
Step 4: Color the Dough
Here comes the fun part! Divide your dough into three sections. Add a few drops of orange, purple, and lime green gel food coloring to each section. Mix until each piece is vibrant and colorful. This will bring the Hocus Pocus Cookies to life, painting a cheerful picture in your kitchen!
Step 5: Shape the Cookies
Using a tablespoon, scoop out portions of the dough and roll them into balls. Space them out on your lined baking sheet; about two inches apart will do. The uniformity of these cookies can be satisfying—as if you’re crafting tiny, magical orbs ready for the oven!
Step 6: Decorate Before Baking
Time for a festive touch! Press three white chocolate chips into the center of each cookie ball. Sprinkle on some Halloween-themed sprinkles. This will really make your cookies pop with inviting colors and textures—like a spellbinding treat!
Step 7: Bake to Perfection
Pop your baking sheet into the oven and let your cookies bake for 10-12 minutes. Keep an eye on them! You want the edges to be set but the centers to remain a bit soft. They’ll continue to firm up as they cool, so don’t overbake them!
Step 8: Cool and Decorate
Once baked, take them out and let the cookies cool on the baking sheet for a few minutes. Then transfer them to a wire rack. If you’d like, drizzle melted chocolate over the top or add candy eyes for an extra whimsical look! The possibilities are endless, just like a good story.
Tips for Success
- Use fresh ingredients for the best flavor and texture.
- Don’t skip chilling the dough if it feels too sticky; it helps in shaping.
- Experiment with additional mix-ins like nuts or chocolate chunks if you like!
- Keep an eye on the baking time to avoid overcooking.
- Use a cookie scoop for even-sized cookies every time!
Equipment Needed
- Baking sheet: A standard cookie sheet works well, or you can use a glass baking dish.
- Parchment paper: Helps prevent sticking; aluminum foil is a suitable alternative if needed.
- Mixing bowls: Large and medium bowls for mixing the dough. Any bowl will do!
- Spoon or cookie scoop: To portion out dough, a tablespoon does the job perfectly.
- Wire rack: For cooling cookies; if you don’t have one, a plate works just fine.
Variations of Hocus Pocus Cookies
- Gluten-Free Version: Swap the white cake mix for a gluten-free blend. Ensure all other ingredients are gluten-free as well for magical treats everyone can enjoy.
- Chocolate Lovers: Substitute half of the white chocolate chips with dark or milk chocolate chips for a richer taste that will appeal to chocoholics!
- Nutty Twist: Add in chopped nuts like pecans or walnuts for a delightful crunch that complements the soft cookie texture.
- Seasonal Spices: Sprinkle in a dash of cinnamon or nutmeg for a cozy flavor that’s perfect for fall festivities. It adds warmth and depth!
- Vegan Option: Replace eggs with flaxseed meal (1 tablespoon of flaxseed meal mixed with 2.5 tablespoons of water for each egg) and use a plant-based oil to keep it vegan-friendly.
Serving Suggestions for Hocus Pocus Cookies
- Pair with Milk: A classic match! Serve these cookies with a tall glass of cold milk for a nostalgic treat.
- Hot Cocoa Delight: Enjoy them alongside a warm cup of hot cocoa, perfect for chilly nights.
- Fun Platter: Arrange cookies on a decorative platter with spooky decorations for a charming Halloween display.
- Party Favor: Package cookies in clear bags with festive ribbons to send home with guests!
FAQs about Hocus Pocus Cookies
Can I freeze Hocus Pocus Cookies?
Absolutely! These magical treats freeze beautifully. Just store the baked cookies in an airtight container or freezer bag. They’ll keep fresh for up to three months. When you’re ready to enjoy them, simply let them thaw at room temperature.
What if I don’t have gel food coloring?
If you’re out of gel food coloring, you can use liquid food coloring as a substitute. However, you may need to use more, and the colors will be less vibrant. Natural food dyes from beet juice or turmeric can work too, adding a touch of flavor!
How can I make these cookies less sweet?
To dial down the sweetness, consider using half the amount of white chocolate chips. Alternatively, you can skip the sprinkles, which add extra sugar. Balance is key, so taste as you go!
Are Hocus Pocus Cookies suitable for kids?
<pAbsolutely! Kids adore these colorful cookies, and making them can be a fun family activity. Just be sure to supervise when using any hot equipment and keep an eye on those sprinkles—they’ll want to sprinkle with abandon!
What’s the best way to store leftover cookies?
Store any leftover Hocus Pocus Cookies in an airtight container at room temperature. They’ll stay fresh for up to a week. If they last that long! Enjoy them as a sweet pick-me-up during busy days.
Final Thoughts
Baking Hocus Pocus Cookies brings a delightful blend of flavors and colors right into your kitchen. It’s a joyful experience that allows you to create not just treats, but magical memories with your loved ones. Watching the dough transform and the sweet aroma wafting through your home is simply heartwarming. Whether you’re enjoying them on cozy fall evenings or sharing at Halloween parties, these cookies are sure to spread smiles. So, roll up your sleeves, embrace the magic, and let each bite transport you to a world of sweet enchantment!
Print
Hocus Pocus Cookies
- Prep Time: 15 minutes
- Cook Time: 12 minutes
- Total Time: 30 minutes
- Yield: 24 cookies 1x
- Category: Dessert
- Method: Baking
- Cuisine: American
- Diet: Vegetarian
Description
Hocus Pocus Cookies are magical treats that are easy to make with simple ingredients and vibrant colors. Perfect for Halloween parties or autumn gatherings.
Ingredients
- 1 box of white cake mix
- 1 teaspoon baking powder
- 2 eggs
- 1/2 cup vegetable oil
- 1 teaspoon vanilla extract
- Orange, Purple and Lime Green Gel Food Coloring
- White chocolate chips (3 per cookie)
- Halloween-themed sprinkles
Instructions
- Preheat the oven to 350°F (175°C) and line a baking sheet with parchment paper.
- In a large bowl, combine white cake mix and baking powder; stir.
- Add eggs, vegetable oil, and vanilla extract; blend until a sticky dough forms.
- Divide dough into three parts and color with gel food coloring.
- Scoop tablespoon-sized portions onto the baking sheet, leaving space between each.
- Add white chocolate chips and sprinkles on top before baking.
- Bake for 10-12 minutes until edges are set; cool for a few minutes before transferring to a wire rack.
- Decorate with frosting, candy eyes, or drizzle with chocolate as desired.
- Serve and enjoy the magic!
Notes
- Consider rolling dough balls in colored sugar or sprinkles before baking for added decoration.
- These cookies remain soft in the center and firm up as they cool.
- Great for Halloween parties, potlucks, or cozy nights in.
Nutrition
- Serving Size: 1 cookie
- Calories: 180
- Sugar: 12g
- Sodium: 90mg
- Fat: 7g
- Saturated Fat: 2g
- Unsaturated Fat: 4g
- Trans Fat: 0g
- Carbohydrates: 28g
- Fiber: 0g
- Protein: 2g
- Cholesterol: 30mg


