Introduction to Homemade Caramel Apples
There is something magical in all that simplicity of homemade caramel apples spread with welcomes to the flavors of the fall. Irresistible treats help create sweet moments with the family. So, as a mother caught up with so many other things, I truly get it when it comes to juggling meals and dessert. That is why I love this recipe – it’s quick and super little effort to put together and very rewarding on super hectic days! Imagine biting into a crisp apple that oozes with rich sticky caramel; heaven, right there! Whether you are hosting be it for a gathering or just need a little indulgence to end a long day homemade caramel apples will do the job.
Why You’ll Love This Homemade Caramel Apples
Let’s be honest with it: life, nowadays is so much busy and taking out time for baking mouth-watering treats feels impossible. That’s why these homemade caramel apples are game changers. They’re quick to prepare, requiring just 15 minutes of actual work. And they taste out of this world. Crisp apples and rich caramel are a truly refreshing ‘flavor’ of a well-balanced sweet tooth’s satisfaction.
Ingredients for Homemade Caramel Apples
Gathering your ingredients is half the fun! Here’s what you’ll need to create your delicious homemade caramel apples. Remember, the ingredient quantities are available at the bottom of the article for your printing needs.
- Crisp Apples: Start with 8-10 cold apples. Think juicy Granny Smith for tartness or sweet Honeycrisp for a fall favorite. The coldness helps the caramel stick!
- Brown Sugar: You’ll need a solid two cups of packed brown sugar. This brings that deep, rich flavor and a beautiful color too.
- Heavy Cream: A generous cup and a half for a creamy texture. It makes the caramel smooth and luscious.
- Light Corn Syrup: One cup adds sweetness and prevents crystallization. It’s like the magic wand of caramel-making!
- Unsalted Butter: Four tablespoons of this silky goodness help with a rich taste and glossy finish.
- Salt: Just half a teaspoon to enhance the flavors and balance the sweetness. It’s the secret ingredient to perfection!
- Vanilla Extract: A teaspoon of vanilla gives a warm, aromatic flavor that complements the caramel beautifully.
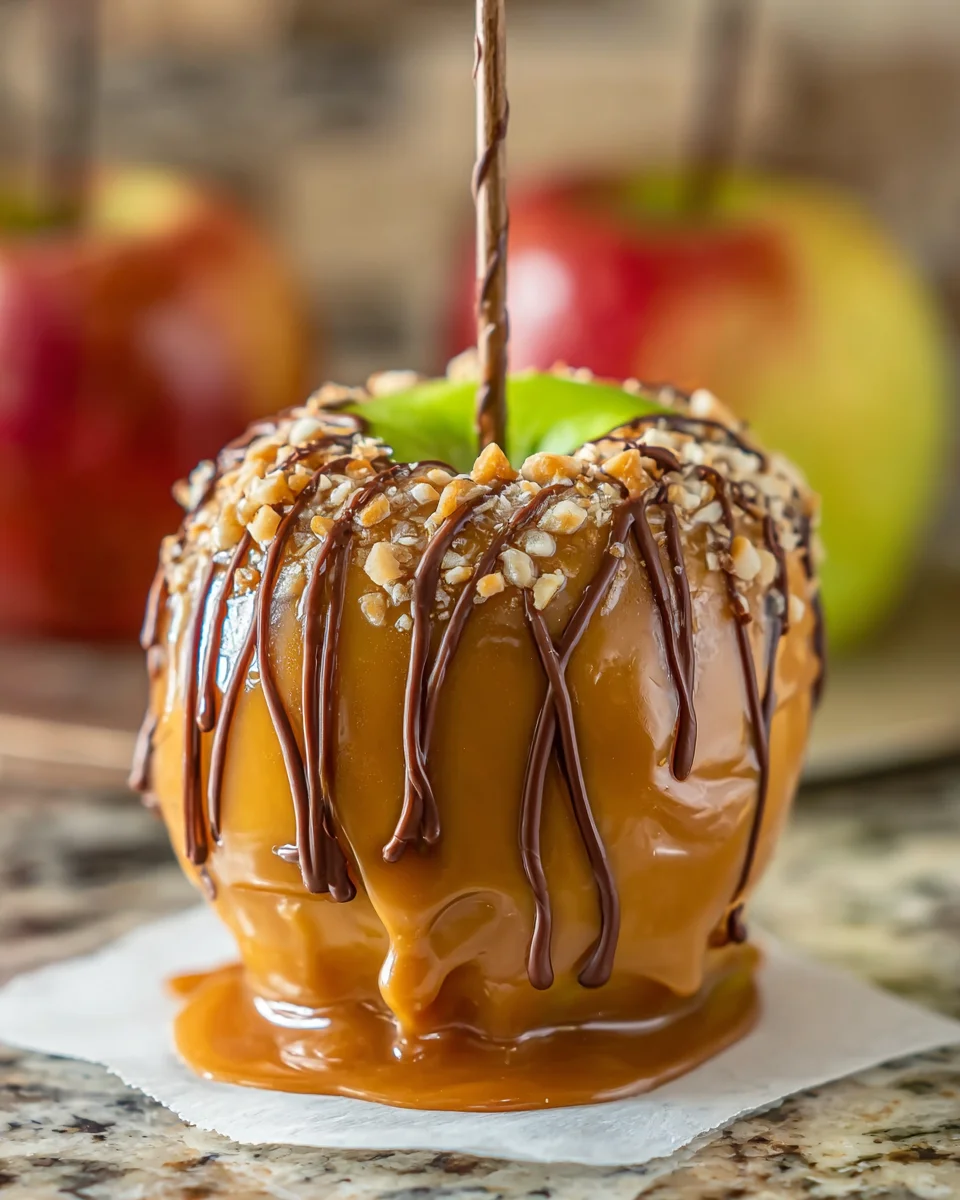
- Optional Toppings: Get creative! Think melted chocolate, flaky sea salt, sprinkles, or chopped nuts. These not only add flavor but also a delightful crunch.
These ingredients come together to create a sweet symphony that embodies the spirit of homemade caramel apples. You won’t just be making a treat but creating a delicious memory!
How to Make Homemade Caramel Apples
Now comes the fun part! Making homemade caramel apples is like embarking on a culinary adventure. Follow these simple steps to create your sweet masterpiece.
Prepare the Apples
Begin by prepping your apples. Wash and thoroughly dry them to remove any waxy residue. This is essential for that lovely, sticky caramel to cling on. Next, insert a caramel apple stick into each apple. I like to use wooden sticks; they add a rustic charm! Once you’ve done this, place your apples in the refrigerator until it’s time to dip. Keeping them cold ensures the caramel adheres perfectly.
Make the Caramel
In a heavy-bottomed pan, combine your brown sugar, heavy cream, light corn syrup, unsalted butter, and salt. Turn the heat to medium and don’t rush it—patience is key here! Stir the mixture with a wooden spatula until the butter melts and everything comes together. I always find myself stirring occasionally, making sure nothing sticks to the bottom. After about 15 to 20 minutes, use a candy thermometer to keep an eye on the temperature. You’re looking for it to reach between 235° and 240°. When it does, remove the pan from heat and stir in the vanilla extract. Your kitchen should smell heavenly right now!
Dip the Apples
It’s time to dip! Grab your chilled apples by the sticks and immerse them into the luscious caramel sauce. I love doing a little swirl to ensure every inch is coated. Allow any excess caramel to drip off—no need for a gooey mess! Place the dipped apples on your prepared parchment or waxed paper. If you’d like to add toppings, do it now while the caramel is still warm. This helps them stick better. You can get creative with sprinkles, chopped nuts, or a drizzle of melted chocolate for that extra touch.
Let Them Set
After dipping, let your beautiful creations sit for about 30 to 60 minutes to set. I often find this is the hardest part; the smell is just too tempting! However, once the caramel sets, you’ll have these glossy, delightful treats ready to enjoy. If you’ve added chocolate, wait until the caramel is firm before drizzling. Trust me, it’s worth the wait!
Tips for Success
- Make sure apples are cold for better caramel adherence.
- Use a candy thermometer to avoid burning the caramel.
- For a smoother caramel, stir constantly while cooking.
- Don’t dip apples in wet or greasy hands to ensure a clean finish.
- Experiment with toppings to keep things exciting; mix and match!
- Store leftover caramel in an airtight container for future use.
Equipment Needed
- Heavy-Bottomed Pan: A sturdy saucepan will help you control the heat. If you don’t have one, a regular pot works fine, just be extra cautious!
- Candy Thermometer: Essential for checking the caramel temperature. If you don’t own one, a regular thermometer can still do the job.
- Wooden Spatula: Great for stirring. A silicone spatula works well, too!
- Cookie Sheet: You’ll need this for setting the apples. A simple plate can work if you’re in a pinch!
- Parchment or Wax Paper: For non-stick convenience when setting your apples. Aluminum foil is a great alternative.
Variations
- Chocolate-Covered Caramel Apples: Dip your caramel apples in melted chocolate after setting the caramel. White, dark, or milk chocolate work wonders!
- Nutty Delight: Roll your caramel apples in crushed nuts like pecans, walnuts, or almonds for extra crunch and flavor.
- Spicy Kick: Add a dash of cayenne or cinnamon to your caramel mixture for a sweet and spicy treat.
- Healthier Version: Substitute brown sugar with coconut sugar and use almond milk instead of heavy cream for a lighter option.
- Vegan Take: Try using coconut cream and vegan butter to create a delicious caramel that’s completely dairy-free!
Serving Suggestions
- Pair with Hot Cider: Enjoy these delightful homemade caramel apples alongside a warm mug of spiced cider for a cozy autumn treat.
- Fun Presentation: Set these up on a decorative platter, maybe with themed napkins for a festive touch.
- Perfect for Parties: Serve as a fun dessert at gatherings or Halloween parties; they’ll be a hit!
- Ice Cream Delight: Slice up the apples and serve over vanilla ice cream for a decadent dessert twist.
- Share with Family: Create a caramel apple bar where everyone can customize their toppings!
FAQs about Homemade Caramel Apples
As a fellow caramel apple enthusiast, I’ve gathered some commonly asked questions about this delightful treat. Let’s dive into the world of homemade caramel apples, ensuring you have everything you need to know for your sweet journey!
Can I use any type of apple for caramel apples?
Absolutely! While Granny Smith and Honeycrisp are popular choices, feel free to experiment with your favorite apple varieties. Just remember, crisp apples hold the caramel better and provide a lovely contrast to the sweetness.
How long can homemade caramel apples be stored?
These tasty treats are best enjoyed fresh, but you can store them in the fridge for about 2-3 days. Just be sure to keep them in an airtight container to avoid any sticky problems!
Can I make the caramel in advance?
Yes! You can make the caramel ahead of time and store it in the fridge. Just reheat it gently on the stovetop before dipping your apples. It’s the perfect solution for a last-minute gathering!
What are some creative topping ideas?
The possibilities are endless! Try crushed Oreos, coconut flakes, or even drizzled peanut butter for a twist. Let your imagination run wild and have fun with it!
Can I make these caramel apples gluten-free?
Definitely! This recipe is inherently gluten-free, making it an easy choice for your gluten-sensitive friends. Just ensure your toppings are also gluten-free to keep it safe for everyone!
Final Thoughts
Creating homemade caramel apples is more than just a recipe; it’s an experience that brings warmth and joy to your kitchen. The simple act of dipping crisp apples into luscious caramel can spark laughter and happy memories with loved ones.
As you indulge in these delightful treats, you’ll find the flavors of fall wrapped in each bite. So, gather your family around and make this sweet adventure together. With each caramel apple, you’re crafting not just dessert but a delicious bond, one delightful bite at a time. Enjoy every moment of this sweet journey!
Print
Homemade Caramel Apples
- Prep Time: 15 minutes
- Cook Time: 20 minutes
- Total Time: 35 minutes
- Yield: 8–10 servings 1x
- Category: Dessert
- Method: Stovetop
- Cuisine: American
- Diet: Vegetarian
Description
Homemade caramel apples are a delicious treat featuring crisp apples coated in rich, homemade caramel, perfect for fall festivities or a sweet indulgence.
Ingredients
- 8–10 cold apples
- 2 cups brown sugar packed
- 1 1/2 cups heavy cream
- 1 cup light corn syrup
- 4 tablespoons unsalted butter softened
- 1/2 teaspoon salt
- 1 teaspoon vanilla extract
- Optional toppings:
- melted chocolate
- flaky sea salt
- sprinkles
- nuts
Instructions
- Place a sheet of parchment or waxed paper on a cookie sheet and spray with cooking spray.
- Wash and dry the apples, rubbing them well with a kitchen towel or paper towel to remove any waxy residue.
- Insert a caramel apple stick into each apple and refrigerate until ready to dip.
- In a heavy bottom pan, combine brown sugar, heavy cream, corn syrup, butter, and salt. Cook over medium heat without changing the temperature.
- Stir with a wooden or rubber spatula until the butter melts and ingredients combine, occasionally stirring to prevent sticking.
- Continue cooking until the caramel reaches 235°-240° on a candy thermometer (about 15 to 20 minutes). Remove from heat and stir in vanilla.
- Hold the skewered apples by the sticks and dip into the caramel sauce, swirling to coat. Let excess caramel drip off and place on the prepared paper lined pan.
- Let the apples sit for 30 to 60 minutes to set.
- If decorating, do this immediately after dipping to allow toppings to stick. For drizzling with chocolate, wait until the caramel has set completely.
Notes
- Ensure the apples are cold for better caramel adherence.
- Monitor the temperature closely when cooking caramel to avoid burning.
- Experiment with different toppings to customize your apples.
Nutrition
- Serving Size: 1 apple
- Calories: 250
- Sugar: 30g
- Sodium: 50mg
- Fat: 10g
- Saturated Fat: 6g
- Unsaturated Fat: 3g
- Trans Fat: 0g
- Carbohydrates: 38g
- Fiber: 2g
- Protein: 1g
- Cholesterol: 20mg


