Introduction to Hot Chocolate Cookie Cups
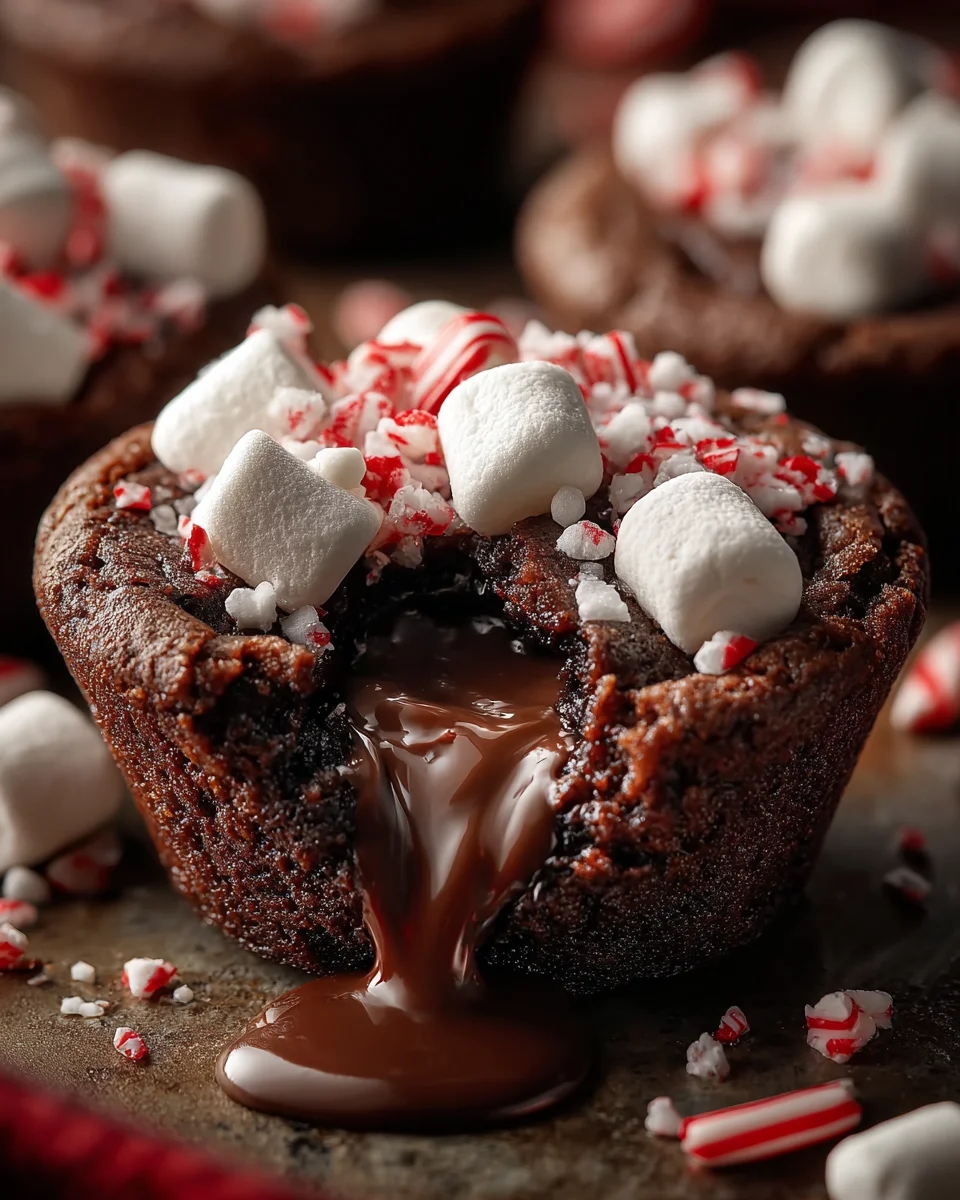
As the chilly days of winter roll in, there’s nothing quite like a sweet treat to warm your heart. That’s where my beloved Hot Chocolate Cookie Cups come in! These delightful little creations are not just cookies; they’re edible hugs nestled in a cup, filled with rich chocolate and topped with marshmallows.
Perfect for busy moms and professionals, this recipe is a quick solution for satisfying those sweet cravings without hours in the kitchen. Plus, they’re a fantastic way to impress your loved ones with minimal effort, combining comfort and joy in every bite.
Why You’ll Love This Hot Chocolate Cookie Cups
You’re going to fall in love with these Hot Chocolate Cookie Cups for so many reasons.
First, they’re incredibly easy to whip up, making them perfect for hectic weeknights.
Secondly, in just 25 minutes, you can have a delightful dessert that’s sure to impress anyone who takes a bite.
And let’s not forget the taste! The combination of gooey chocolate and fluffy marshmallows is pure bliss, bringing warmth and joy with every mouthful.
Ingredients for Hot Chocolate Cookie Cups
Let’s dive into the delightful ingredients that make up these scrumptious Hot Chocolate Cookie Cups. Each element plays an important role, like a perfectly tuned orchestra. Here’s what you’ll need:
- Refrigerated chocolate chip cookie dough: The backbone of this recipe, providing a soft base with delicious chocolate morsels.
- Semi-sweet chocolate chips: I love using semi-sweet because they provide just the right amount of sweetness without being overpowering.
- Heavy cream: This adds a silky richness to the chocolate filling, giving it that decadent feel that’s impossible to resist.
- Vanilla extract: A splash of this aromatic essence brightens the flavors and enhances the chocolate.
- Mini marshmallows: They’re the stars of this show, adding a soft, gooey top that melts in your mouth!
- Crushed peppermint or festive sprinkles: These are optional, but they sprinkle a bit of holiday cheer and add a fun crunch to your cookie cups.
Remember, you can find the exact quantities for each ingredient at the bottom of the article for easy printing. Feel free to get creative with your toppings; after all, cooking should always be a personal adventure!

How to Make Hot Chocolate Cookie Cups
Get ready to indulge in the warm, magical world of Hot Chocolate Cookie Cups! Making these treats is as fun as eating them. Let’s step through this delightful process together, one spoonful at a time.
Step 1: Preheat Your Oven
The first thing you want to do is preheat your oven to 350°F (175°C).
While it warms up, go ahead and lightly grease a mini muffin tin. A well-greased tin is vital for ensuring your cookie cups slide out effortlessly.
Step 2: Form Your Cookie Cups
Now, take that chilled roll of cookie dough and slice off about one tablespoon per cup.
Press the dough firmly into each muffin cup, shaping it into a deep well, as if you’re crafting tiny edible bowls.
This will be the perfect holder for all that luscious chocolate!
Step 3: Bake to Perfection
Once your dough is shaped, it’s time to bake! Slide the muffin tin into your preheated oven and let those cookie cups bake for 12-15 minutes.
Keep an eye on them; you want the edges to turn a delightful golden brown while the centers stay soft and chewy.
Step 4: Shape the Centers
When the timer goes off, carefully take the muffin tin out of the oven.
Using a small spoon or a shot glass, gently press down the center of each cookie to deepen that well.
This step is crucial because it creates a cozy nook for the chocolate filling. Let them cool completely while still in the tin.
Step 5: Prepare the Chocolate Filling
In a microwave-safe bowl, combine your semi-sweet chocolate chips and heavy cream.
Microwave them in 30-second intervals, stirring in between, until melted and smooth.
Now, stir in that luscious splash of vanilla extract to brighten up the chocolate—trust me; it’s worth it!
Step 6: Assemble the Cookie Cups
It’s the moment we’ve been waiting for! Fill each cookie cup with that heavenly melted chocolate mixture.
Then, top each one with mini marshmallows.
Now, put them back in the oven for just 2-3 minutes, allowing the marshmallows to get all gooey and inviting.
Step 7: Personalize Your Treats
Finally, let your creativity shine!
Garnish the tops with crushed peppermint or festive sprinkles for that extra holiday flair.
These little touches not only look beautiful but also add a delightful crunch, making each bite even more exciting!
Tips for Success
- Make sure to fully grease your muffin tin to prevent sticking.
- Keep an eye on the cookie cups while baking to avoid over-baking, which can lead to dryness.
- Use room-temperature ingredients for a smoother chocolate filling.
- Customize toppings based on your family’s preferences—chocolate chips, nuts, or candies work great!
- Don’t rush the cooling process; letting them cool in the tin helps maintain their shape.
Equipment Needed
- Mini muffin tin: Essential for shaping the cookie cups; a regular muffin tin can work in a pinch.
- Mixing bowl: Use any bowl for combining ingredients, but a microwave-safe one is a must for the chocolate.
- Spoon or shot glass: Handy for pressing down the centers of the cookie cups.
- Microwave: Perfect for melting chocolate quickly and efficiently.
Variations
- Gluten-Free Option: Use gluten-free chocolate chip cookie dough for a gluten-free version. Many brands offer delicious alternatives!
- Nutty Delight: Add chopped nuts like walnuts or pecans to the chocolate filling for a delightful crunch.
- Flavor Infusion: Incorporate different extracts like almond or peppermint instead of vanilla for a unique twist.
- Vegan Version: Swap the chocolate chips for dairy-free ones and use coconut cream in place of heavy cream.
- Cheesecake Style: Mix in a bit of cream cheese with the chocolate filling for a rich, cheesecake-like flavor.
Serving Suggestions for Hot Chocolate Cookie Cups
- Pair these cookie cups with a steaming mug of hot cocoa to enhance the chocolate experience.
- Serve alongside a scoop of vanilla ice cream for a delightful contrast in temperature and flavor.
- Present on a festive tray decorated with holiday lights to create an inviting dessert display.
- For added fun, let kids decorate their cookie cups with colorful sprinkles or edible glitter!
FAQs about Hot Chocolate Cookie Cups
I know you might have some questions about these delightful Hot Chocolate Cookie Cups, so let’s dive into a few frequently asked ones!
Can I make the cookie cups ahead of time?
Absolutely! You can prepare the cookie cups and fill them with chocolate just a few hours ahead of time. Just make sure to store them in an airtight container to keep them fresh until you’re ready to enjoy.
Can I use other types of chocolate?
Of course! While semi-sweet chocolate chips are classic, feel free to experiment with milk chocolate or dark chocolate for a richer experience. You might find a combination that speaks to your sweet tooth!
What can I substitute for heavy cream?
If you need a lighter option, you can use half-and-half or even coconut cream for a dairy-free twist. Just remember, the creaminess adds a lovely touch to the filling, so aim for something with similar richness.
How do I store leftover cookie cups?
If you have any leftovers (which is rare!), simply place them in an airtight container and keep them at room temperature for up to two days. You can also refrigerate them, but allow them to come to room temperature before serving for the best flavor.
Can I freeze these cookie cups?
Yes, indeed! You can freeze the baked cookie cups before adding the filling. Just make sure to let them cool completely and then wrap them tightly. When you’re ready, just thaw and fill them when that chocolate craving strikes!
Final Thoughts
Baking these Hot Chocolate Cookie Cups is more than just making a sweet treat; it’s creating a moment of joy. Each bite is a warm reminder of winter comforts and happy gatherings.
As you watch your loved ones indulge, you’ll find pure satisfaction in their smiles.
Whether it’s a cozy family night or a festive celebration, these little cups of chocolate goodness are sure to become a beloved tradition. So grab your ingredients, and let’s spread some warmth and happiness—one cookie cup at a time!
Print
Hot Chocolate Cookie Cups
- Prep Time: 10 minutes
- Cook Time: 15 minutes
- Total Time: 25 minutes
- Yield: 24 cookie cups 1x
- Category: Dessert
- Method: Baking
- Cuisine: American
- Diet: Vegetarian
Description
Delicious cookie cups filled with rich chocolate and topped with marshmallows, perfect for warming your heart!
Ingredients
- 1 roll (16.5 oz) refrigerated chocolate chip cookie dough
- 1/2 cup semi-sweet chocolate chips
- 2 tablespoons heavy cream
- 1/2 teaspoon vanilla extract
- Mini marshmallows
- Crushed peppermint or festive sprinkles
Instructions
- Preheat oven to 350°F (175°C). Lightly grease a mini muffin tin.
- Press 1 tablespoon of cookie dough into each muffin cup, creating a cup shape.
- Bake for 12-15 minutes, or until the edges are golden brown.
- Remove from the oven and immediately use a small spoon or shot glass to gently press down the center of each cookie to create a deeper well. Let cool completely in the tin.
- In a microwave-safe bowl, combine the chocolate chips and heavy cream. Microwave in 30-second intervals, stirring in between, until melted and smooth. Stir in the vanilla extract.
- Fill each cookie cup with the melted chocolate mixture. Top with mini marshmallows and return to the oven for 2-3 minutes, just until the marshmallows are gooey.
- Garnish with crushed peppermint or sprinkles before serving.
Notes
- Ensure the muffin tin is well-greased to prevent sticking.
- Feel free to customize the toppings with your favorite festive decorations.
Nutrition
- Serving Size: 1 cookie cup
- Calories: 150
- Sugar: 10g
- Sodium: 100mg
- Fat: 7g
- Saturated Fat: 4g
- Unsaturated Fat: 2g
- Trans Fat: 0g
- Carbohydrates: 20g
- Fiber: 1g
- Protein: 2g
- Cholesterol: 20mg


