why make this recipe
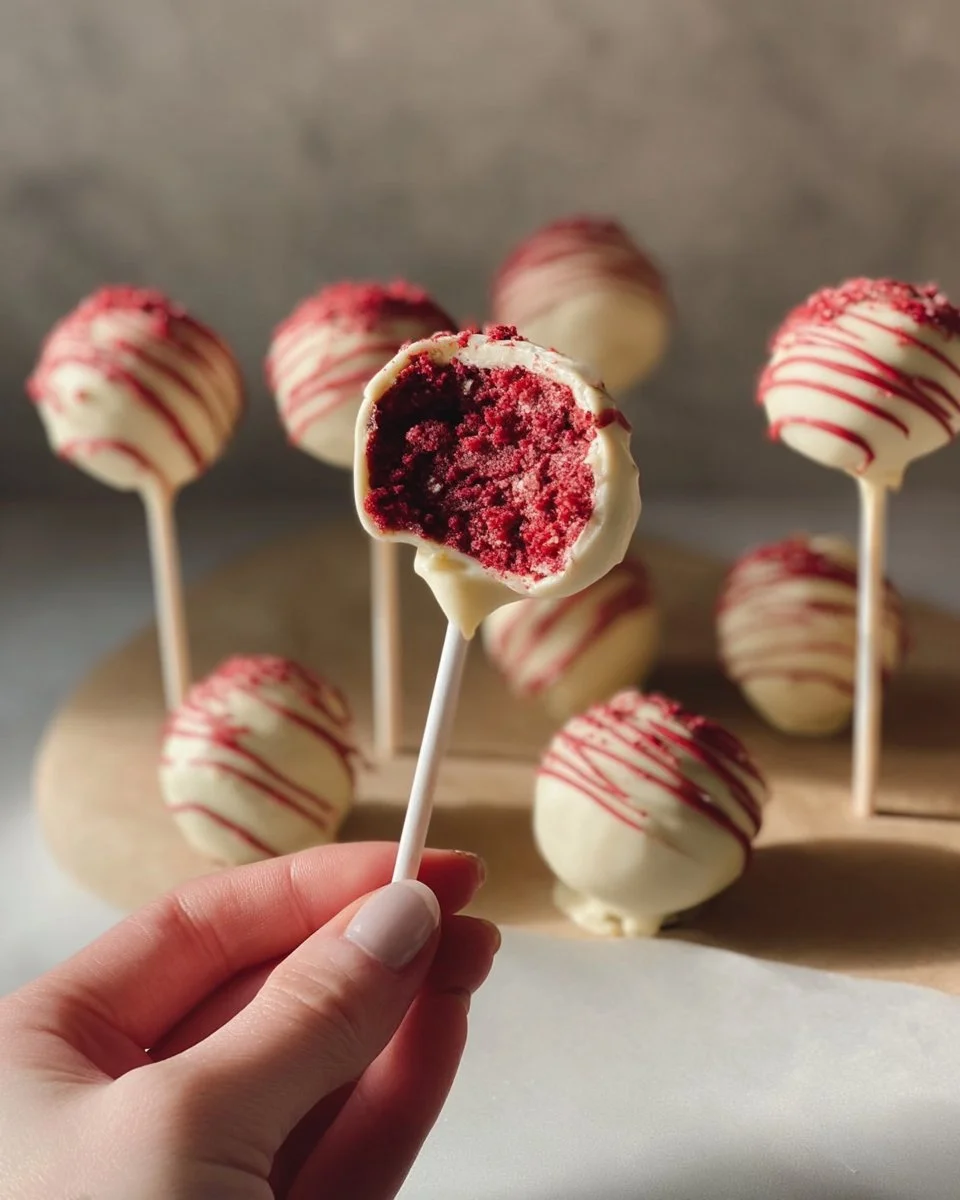
Red Velvet Cake Pops are small, sweet, and fun. They are easy to eat and make a colorful treat for parties or gifts. You can use cake you already baked and turn it into a neat snack.
introduction
This recipe uses cooked red velvet cake and cream cheese frosting to make round cake pops. You can learn a similar idea from a cookie version like red velvet cookies with cream cheese frosting if you want a different dessert to try.
how to make Red Velvet Cake Pops
Make the cake, cool it, and crumble it. Mix the crumbs with cream cheese frosting until you can shape balls. Chill the balls, then dip them in melted candy coating or chocolate. Add sprinkles or a drizzle for a nice look.
Ingredients :
- 1 baked and cooled 9-inch red velvet cake (or about 4 cups cake crumbs)
- 1 cup cream cheese frosting (store-bought or homemade)
- 12 oz white candy melts or white chocolate
- 1 tbsp vegetable shortening (optional, to thin coating)
- Red or pink sprinkles (optional)
- 20 lollipop sticks
- Parchment paper or a clean tray
Directions :
- Crumble the cooled red velvet cake into a large bowl until fine crumbs form.
- Add 1 cup cream cheese frosting. Mix with a spoon until the crumbs hold together when pressed. Add a little less or more frosting if needed.
- Scoop tablespoon-sized portions and roll into balls. Place balls on a tray lined with parchment paper.
- Chill the balls in the fridge for 30–60 minutes so they firm up.
- Melt the candy melts or white chocolate in a microwave-safe bowl in 20–30 second bursts, stirring until smooth. If too thick, stir in a small bit of vegetable shortening.
- Dip the tip of a lollipop stick into the melted coating, then push it halfway into a chilled cake ball. Repeat for a few balls. Return the tray to the fridge for 5–10 minutes so sticks set.
- Hold a cake pop by the stick and dip it fully into the melted coating. Tap off excess gently.
- Place the dipped pop on parchment paper. Add sprinkles or a drizzle before coating sets.
- Let all pops dry at room temperature or in the fridge until coating hardens.
how to serve Red Velvet Cake Pops
Serve on a plate, in a decorative cup, or stand them upright in a foam block or vase. They work well at room temperature and look good grouped by color.
how to store Red Velvet Cake Pops
Store in an airtight container in the fridge for up to 5 days. For longer storage, freeze on a tray until firm, then place in a sealed bag for up to 1 month. Thaw in the fridge before serving.
tips to make Red Velvet Cake Pops
- Use chilled cake balls so they hold on the stick.
- If your coating is thick, add a small bit of shortening and stir.
- Break the cake into very fine crumbs for a smoother texture.
- For different flavors, try other frostings in place of cream cheese. See a related recipe for ideas like the red velvet cookie cream cheese recipe.
- Work in small batches so cake balls stay cold while dipping.
variation (if any)
- Chocolate coating: Use dark or milk chocolate instead of white.
- Flavored coating: Add a drop of vanilla or almond extract to the melted coating (do not add water).
- Mini pops: Make smaller balls for bite-sized treats.
- Cake truffles: Serve without sticks as truffles rolled in sprinkles or cocoa.
FAQs
Q: Can I use store-bought cake or mix?
A: Yes. You can use a store-bought cake, boxed cake, or leftover homemade cake. Crumble it well before mixing.
Q: Will cake pops melt in warm weather?
A: The coating can soften in heat. Keep pops cool in the fridge or serve in a cool place.
Q: How do I fix cracks in the coating?
A: Warm the coating slightly and dip again. You can also pipe a small amount of melted coating over cracks to seal them.
Q: Can I make these ahead?
A: Yes. Make and chill, then store in the fridge up to 5 days or freeze for longer.
Q: Can I use milk chocolate instead of white candy melts?
A: Yes. Milk or dark chocolate works, but candy melts give a smooth, firm shell that is easy to color.
Conclusion
For a quick visual guide, you can watch a clear how-to video like Red Velvet Cake Pops Recipe (VIDEO) – Simply Home Cooked that shows the dipping steps. For a small-batch written approach and tips, see the helpful notes at Red Velvet Cake Pops – Dessert for Two.
Print
Red Velvet Cake Pops
- Prep Time: 30 minutes
- Cook Time: 0 minutes
- Total Time: 60 minutes
- Yield: 20 servings 1x
- Category: Dessert
- Method: Chilling and Dipping
- Cuisine: American
- Diet: Vegetarian
Description
Small, sweet, and fun, these Red Velvet Cake Pops are perfect for parties or gifts, made with red velvet cake and cream cheese frosting.
Ingredients
- 1 baked and cooled 9-inch red velvet cake (or about 4 cups cake crumbs)
- 1 cup cream cheese frosting (store-bought or homemade)
- 12 oz white candy melts or white chocolate
- 1 tbsp vegetable shortening (optional, to thin coating)
- Red or pink sprinkles (optional)
- 20 lollipop sticks
- Parchment paper or a clean tray
Instructions
- Crumble the cooled red velvet cake into a large bowl until fine crumbs form.
- Add 1 cup cream cheese frosting. Mix with a spoon until the crumbs hold together when pressed. Add a little less or more frosting if needed.
- Scoop tablespoon-sized portions and roll into balls. Place balls on a tray lined with parchment paper.
- Chill the balls in the fridge for 30–60 minutes so they firm up.
- Melt the candy melts or white chocolate in a microwave-safe bowl in 20–30 second bursts, stirring until smooth. If too thick, stir in a small bit of vegetable shortening.
- Dip the tip of a lollipop stick into the melted coating, then push it halfway into a chilled cake ball. Repeat for a few balls. Return the tray to the fridge for 5–10 minutes so sticks set.
- Hold a cake pop by the stick and dip it fully into the melted coating. Tap off excess gently.
- Place the dipped pop on parchment paper. Add sprinkles or a drizzle before coating sets.
- Let all pops dry at room temperature or in the fridge until coating hardens.
Notes
Use chilled cake balls to ensure they hold onto the stick. If your coating is thick, add a small bit of shortening and stir for a smoother texture.
Nutrition
- Serving Size: 1 cake pop
- Calories: 120
- Sugar: 10g
- Sodium: 50mg
- Fat: 7g
- Saturated Fat: 4g
- Unsaturated Fat: 3g
- Trans Fat: 0g
- Carbohydrates: 13g
- Fiber: 0g
- Protein: 1g
- Cholesterol: 10mg


